Today, I’m bringing another book that I made. This time it is “Rhymes”, a book about legendary small tales that go from generation to generation.

I’ll explain the process that I used to put it together. You can use the same approach to make your own handmade book, customizing it to fit whatever you want to express.
- The first thing that I look for is a good base, in this case meaning beautiful background papers that inspire me to create.
- Now, I decide the title and the content. After that, I decide on the size of the book. I also think about some materials that I’m going to use, but I leave ample space for future creativity.
- I gather my basic materials: chipboard and papers, and then I cut them to the appropiate size.
- Next, I prepare the covers. In this case, I decided to paint the back cover using acrylics and I used paper for the front cover. The painting on the back cover had to reflect the fantasy mood and colors from the beautiful papers that I used for the front. I painted the edges with gold paint.
- For the individual pages, I first glued the chipboards to the designers’ paper. Once dried, I used the sewing machine to stich the chipboard and designer paper together. This makes the pages sturdier and gives them more of a finished look.
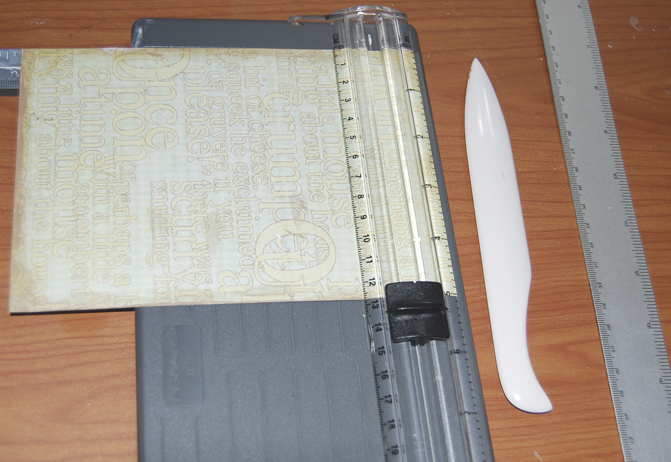
- The pages were then treated with gold paint at the edges and other paint on the papers.
- I proceeded to print the quotes on vellum and the vintage images on tissue paper. To print on tissue, I backed the tissue with normal copy paper and masking tape, and then I ran it through the printer. The image below displays two vintage images printed on tissue paper, which provides a unique and delicate touch.
- Then, I designed and cut the photo corners, also doing the same for all the diecuts for the pages.
- I organized all the pieces on each page and then attached them using different kinds of glue, depending on the object. Many or most of the pieces had glaze, glitter and/or paint applied to them. The image below shows a finished page, with the vellum quote, photo corners, printed tissue paper and button embellishments all glued onto a sewn page.
- When everything was dried, I put all the pages together and measured the thickness in order to know the measurement of the spine of the book.
- I cut the spine using some faux leather and glued it to the front and back cover.
- I then glued gold tissue paper onto the inside of the covers.
- I made an accordion fold piece with cardstock and glued the pages inside each fold.
- I attached the front piece of the accordion to the front cover and the back piece to the back cover.
- I created more details for the book, like a small pillow for the front cover, and applied glitter to the title.


This book is a labor of love; lots of materials and thinking were into its production. If you want to see more pictures and information about my “Rhymes” book, you can click here.

Tags: book making, how to make a book, mini book
|
|


