I recently created this super nice book inspired on the nature around me. I love to see butterflies in the garden, flying freely, showing their beauty with graceful movements. Let me share with you how I made it:
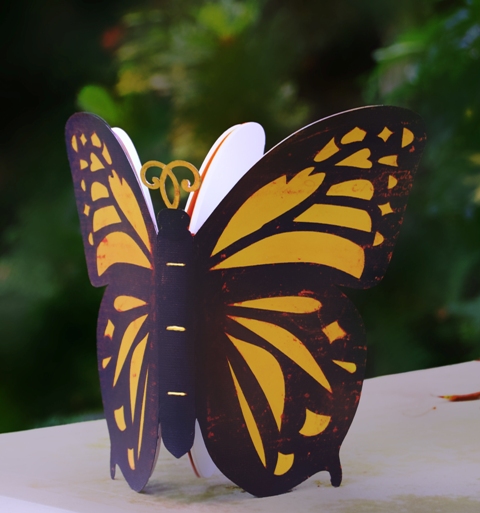
First, I use the templates offered at Enchant Art, if you’d like to see them, click here. For the front, I used two different colors of cardstock since I decided to create the two colored butterfly. There is a template for plain wings plus embellishments to put on top of the wings and wings with swirly cuts. All of them are adorable!
For the inside pages, I used some cream colored paper. I also used a yellow colored ribbon to bind the pages to the cover.
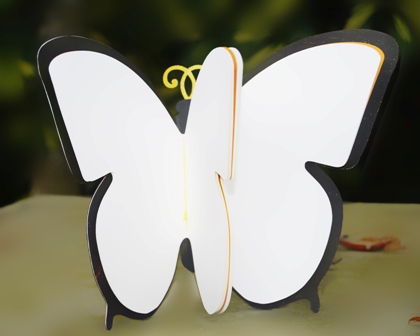
The instructions are very easy to follow and you can print them since they are in a .pdf file. The inside of my book looks like this:
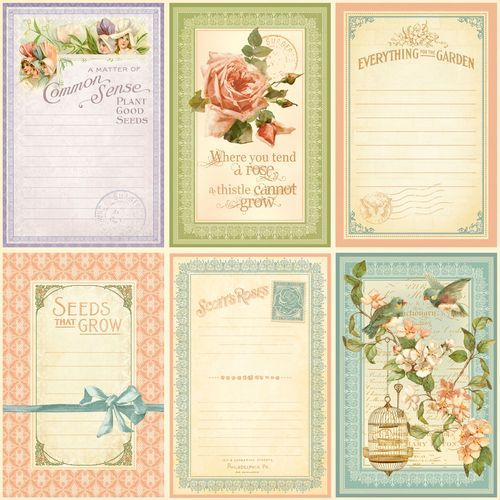
There are also four different journaling cards and embellishments included. I can use these cards and embellishments for another project too:
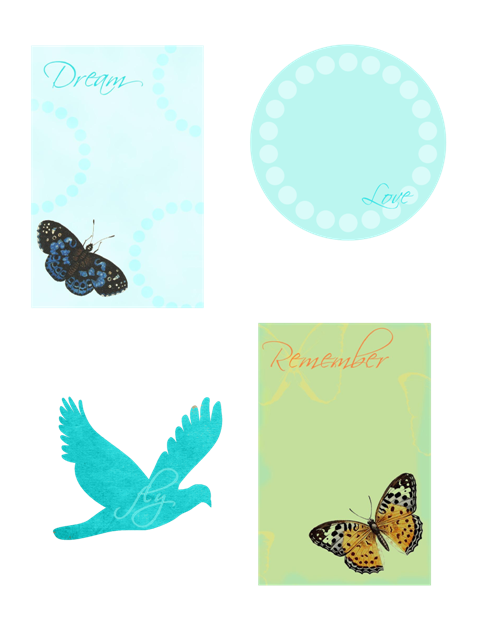
I’m very happy with my finished book. I plan to write some poems and thoughts there.
I also want to cut more of the butterflies as decorations for my house, so I will not include the pages and only use the covers. They will look great if I hand them with a ribbon or string or just put them on a table, since the butterfly can stand without extra support.
So many ideas…
Tags: butterfly book, handmade butterfly book, template for butterfly book
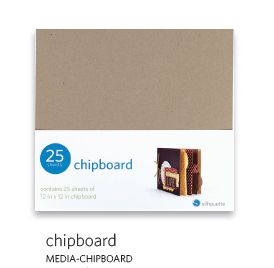
These are great news! We have Silhouette chipboard available now. I know, some of you may had been using cereal boxes and other packages to make your boxes, 3D shapes, mini books, etc. but now you can use chipboard created for our machines without fear of breaking the blade or damaging the machine.
The best thing is that you don’t have to get another kind of blade for this chipboard, you can continue using the same one. The package contains 25 sheets of Silhouette chipboard, to purchase please click HERE:
Tags: chipboard for digital cutters, chipboard for digital cutting machines, New Silhouette chipboard
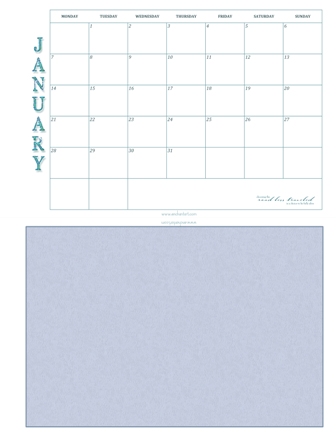
I hope you downloaded the free printable calendar for the month of January. If you didn’t, you will find the templates for the calendar, journaling cards, journaling blocks, etc. HERE.
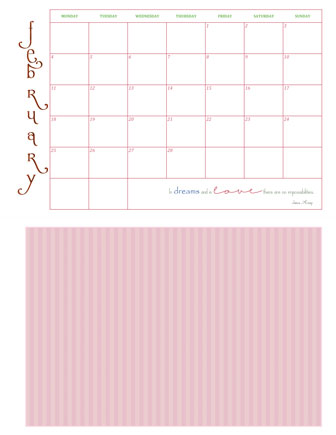
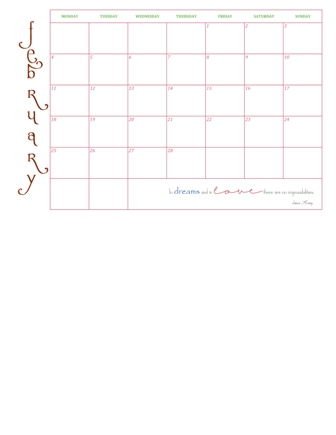
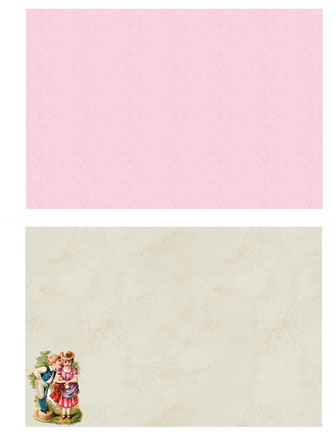
Now, I’m bringing the February Calendar for you. Take a look at these pages that I designed for myself and for you. When you print them, you can use your regular printer and the paper of your preference. Also, you can print more of the January journaling cards to use them here.
The pages have a wider margin at the left to make binding easier for you. These files are for personal use. Please do not distribute them but point your friends to www.enchantart.com/blog to download them directly.
If you like the calendar, you can download all the pages totally free as a zip file by clicking HERE.
Tags: February Calendar, Lucky 13 Project, printable calendar 2013
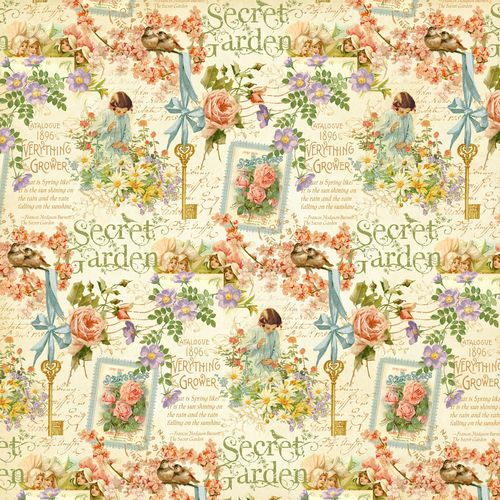
Pre-order your beautiful Secret Garden Pads now at Enchant Art. For the 12 by 12 inches pad, click HERE. If you want to pre-order the 8 by 8 pad, click HERE. PLUS, when you checkout use the code SECRET to get 15% off from the purchase of these gorgeous papers.
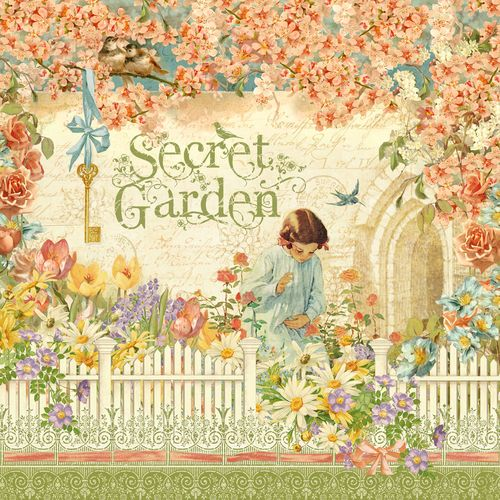
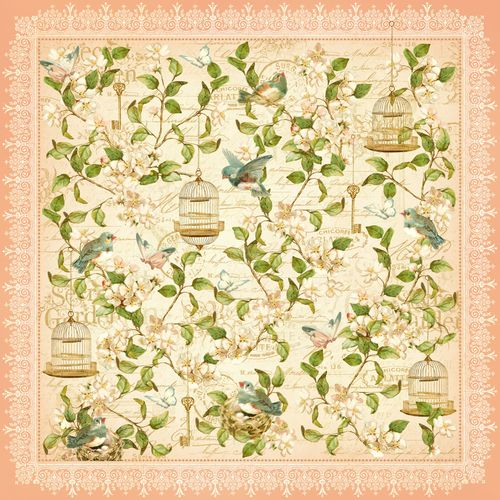
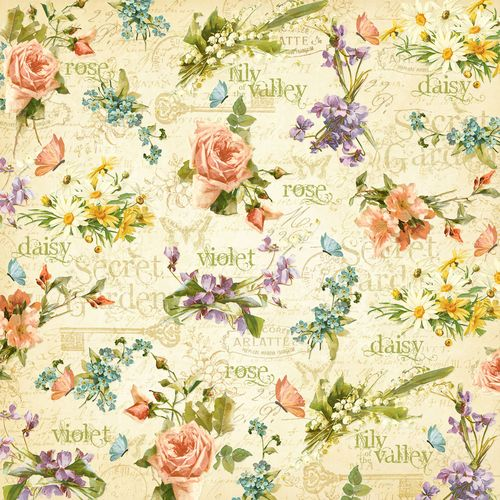
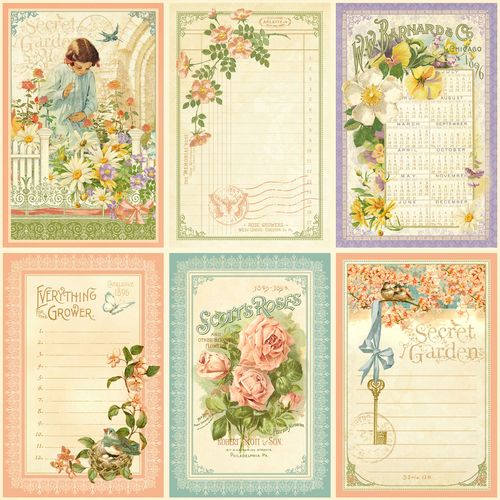
Unlock the door to inspiration and joy with Secret Garden, a bright Spring-inspired collection by Graphic 45. Take a journey into an enchanting land where sun-kissed flowers bloom and songbirds sing with delight.
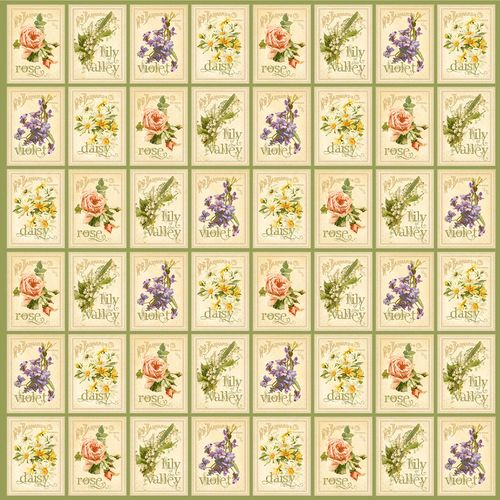
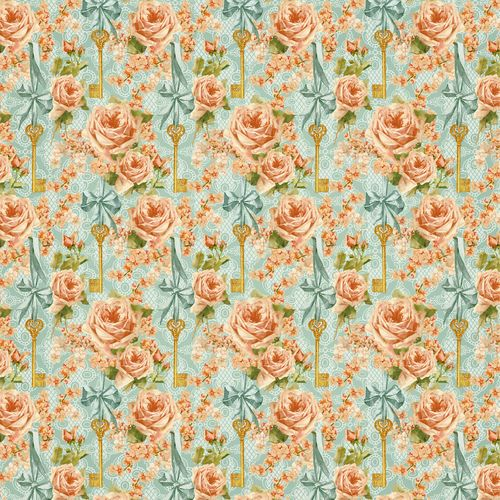
With Secret Garden all of your craft creations will flourish with elegance and dazzling vintage charm. Each splendid page of Secret Garden is a celebration of the renewal of Spring, bathed in the classic Graphic 45 pastel color pallet. Rosy pinks, fresh greens, sunshine yellows, heavenly violets, azure blues and delicate cream dance amid a myriad or graceful floral designs.
This incredible new collection includes 12 beautiful double-sided papers, 12×12 and 8×8 paper pads, coordinating chipboard die-cuts, sticker sets, stamps and introducing three new cardstock embellishments, Flowers, Tags & Pockets, and Banners. Along with a 6×6 paper pad including 36 sheets with coordinating Patterns and Solids.
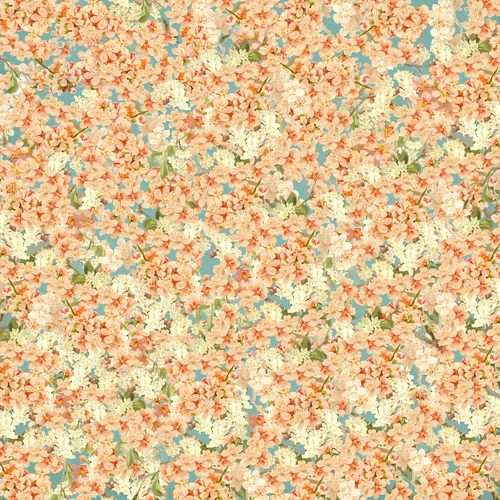
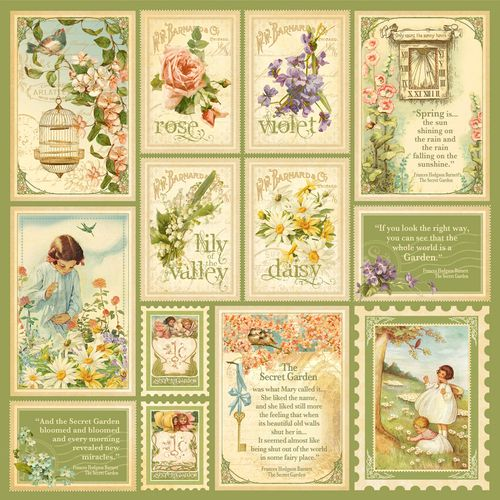
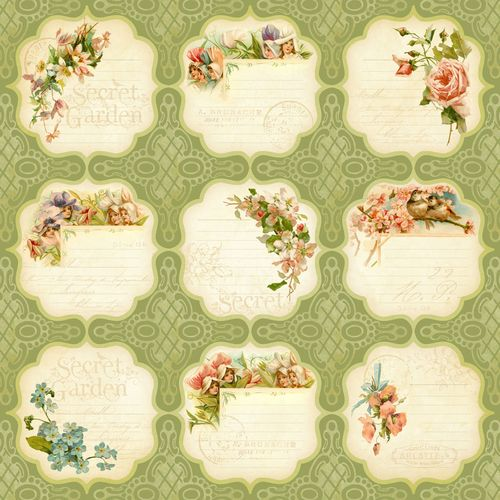
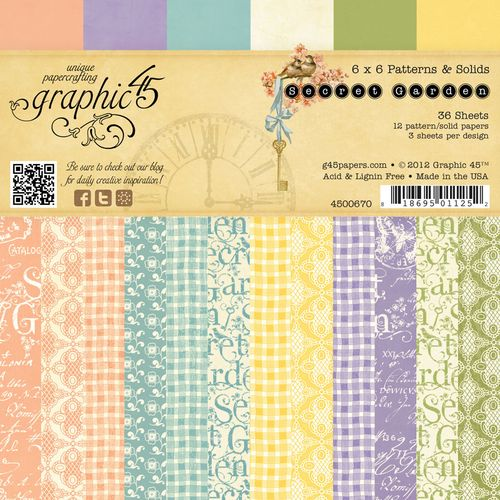
With the new Secret Garden collection from Graphic 45 everything will be coming up roses! Look at these gorgeous papers and fall in love with them:
And if you’d like to order the new solids and patterns 6 by 6 pad, click HERE:
Tags: coupon code for graphic 45 papers, Graphic 45 papers, secret garden graphic 45
Happy New Year 2013! Every New Year, I promise myself I want to be more organized in many ways. I succeed with some of my resolutions but I mostly fail in keeping my journal and pictures of the year that represent the little and big moments in our family life.
This year, I want to help myself recording those times of our lives so I can go back and remember them. I thought, the best way to achieve my goal was to have a Calendar. I look for something that can fit to my project idea but I couldn’t find anything already assembled. The next thing was to create the pages by myself.
But that’s not all. I want you also to have the opportunity to create a book for this year and I will share this project with you. I will be posting the calendar for each month so you can write, draw or paint the things that happened in your life. I also will be including journaling cards and the directions on how to put together all these wonderful pages, but that will be at the end of the project.
I want you to feel free to use any kind of paper, whatever suits you and your own life. Also, it’s very easy … you’ll see.
You only need letter size papers, a printer, a pen and a box or bag to store those pages until the end of the year, when you will be assembling the calendar in a book.
Additionally, only your imagination can tell the other materials you want to include in your project.
All the pages are free to download and for personal use.
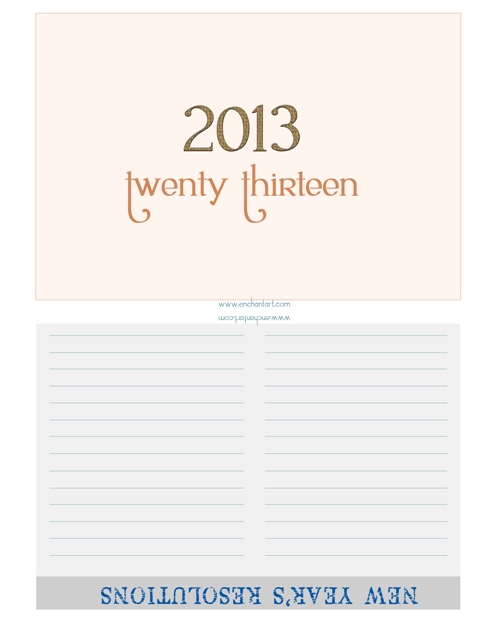
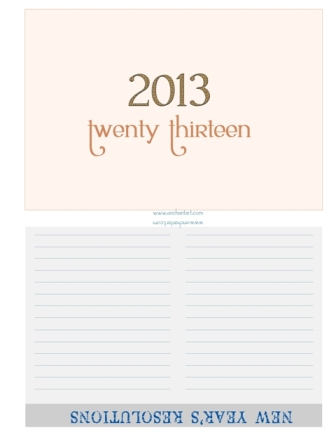
This is the first page. You can choose to print the title with or without the Resolutions page. I will print it with the Resolutions included since I want to keep myself accountable.
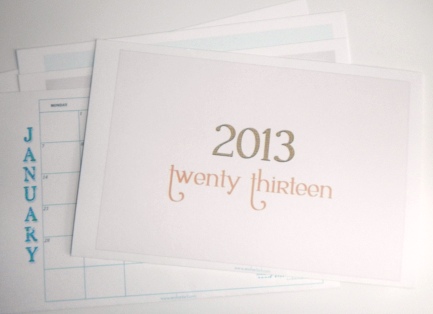
I printed the page and some of the journaling pages that I’m including also for you to download.Next, fold the papers in half, so you get a 8 ½” by 5 ½” double pages.
Now, glue the left, top and right side of the pages, just the edges. You will be making an envelope this way. In this envelope you can include any memorabilia, pictures, etc, that you collected during the month. I like to cut a half-circle at the top of the opposite side to make it easier to open the envelope.
There are also journaling pages included to download. If you’d like to create pockets with these pages, then just do the same: print, fold and glue the edges. Also, I printed the journaling cards in both sides and cut the page in half, that way I have two sides to write on.
Choose whichever journaling page you’d like and use it as it’s more convenient for you. What I will be doing is printing different ones and put them in different places in my house and car, so I don’t miss an opportunity to record important things.
The next step is to embellish these cards with nice papers, pieces of wrapping papers, drawings, etc.
These are the pages you will find in the downloadable file:
And you can download the zip file by clicking HERE. In a few weeks, I’ll be publishing the February calendar.
I also want to see the pictures of your own projects and if you have any ideas that we can incorporate to the project, please let me know. Please send your pictures to glenda@enchantart.com and I will publish them.
Tags: Free calendar 2013, printable calendar 2013, project 2013
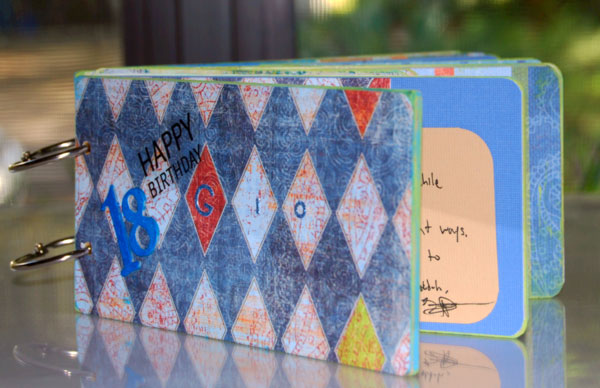
I made this mini album for my son’s 18th birthday really fast. I had to do many things that weekend but at the same time I wanted something nice for this special birthday. I wanted a place where we could write little notes to him and also with enough space for him to add some important things that may happen this year.
Hice este album para el cumpleaños numero 18 de mi hijo. No tenia mucho tiempo para hacerlo, sin embargo queria algo especial, en donde podriamos escribirle pequeñas notas, asi tambien que el tuviera suficiente espacio para añadir notas o cosas importantes que le pasaran este año.
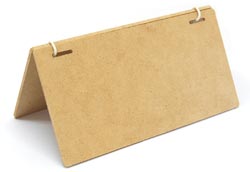
So, what I did was to take a Kaisercraft Beyond The Page MDF Rectangle Album Cover which measures measures 7″ X 3.5″, the perfect size for my project.
Lo que hice fue tomar el product de Kaisercraft Beyond The Page MDF Rectangle Album Cover el cual tiene dos cubiertas con el tamaño perfecto.
Then, I made two holes to the left side of the boards using my CropaDile. Those holes were going to be for the two O rings that will bind the book together when finished.
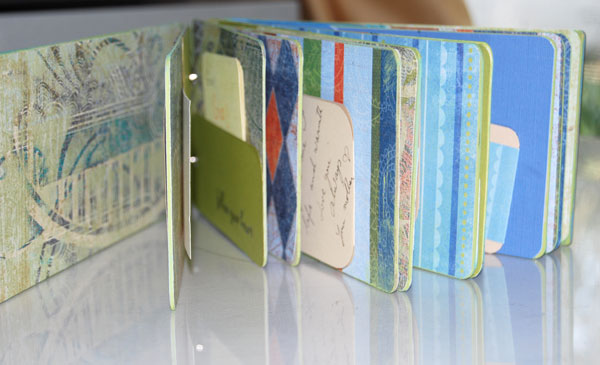
I measured one board in order to cut all the pages that I needed. Then, I cut the pages from cardstock and decorative paper. Once I had all my pages cut, I glued two cardstocks together (back to back) in order to make the pages sturdier. For some pages, I also glued some decorative paper on top of the cardstock.
I also cut smaller pieces of cardstock to make pockets. Added more decorative papers, etc. The idea also was to keep it simple and masculine, appropriate for an 18 year old.
After I finished embellishing the pages, I made the holes to the pages using the board as template.
The board was also covered with decorative paper but first I painted the edges of the boards with craft paint. I added some stickers to the front and the book was ready!
Hice dos agujeros en la parte izquierda de las cubiertas. Esos huecos van a servir para ponerle los dos anillos que sujetaran el libro una vez terminado. Medi una cubierta para saber de que tamaño serian mis paginas. Corte las paginas usando una cartulina gruesa, asi tambien corte papeles decorativos del mismo tamaño. Prosegui a pegar dos cartulinas juntas para hacer una pagina mas fuerte. Asi tambien, a algunas les pegue papeles decorativos encima. Tambien corte cartulina para hacer unos bolsillitos aqui y alla. Despues que termine de pegar todo, hice los huecos en las paginas tomando como referencia una de las cubiertas. Las cubiertas tambien tienen papel decorativo y pinte las orillas de las mismas con pintura.
By the way, he really liked it and we all had fun writing little notes of “wisdom” inside. You can also add a gift card from his favorite store or a coupon for something that he likes to get. If you have more time you can print small pictures showing the most important times in his life (chronological, black and white, for example)
Let me know if you have any question and have a blessed day!
Les digo que le gusto mucho el librito a mi hijo y fue muy divertido escribirle notitas adentro. Pero tambien puede ponerle una tarjeta de regalo o poner fotos de el cuando era pequeño, cronologicamente y en blanco y negro por ejemplo. Si tiene alguna pregunta me la deja saber. Que tenga un dia maravilloso!
Glenda
Tags: 18 years old boy card, birthday masculine mini album, mini book
We all had that question for a while, how can I open and clean the Silhouette blade?
Well, here is the video tutorial how to do it.
The credit goes to http://www.stampika.blogspot.de/. She created this video in German first and then in English for all of us.
Please visit her blog to say thank you!
Enjoy and keep that blade nice and clean so it can last a lot.
Glenda
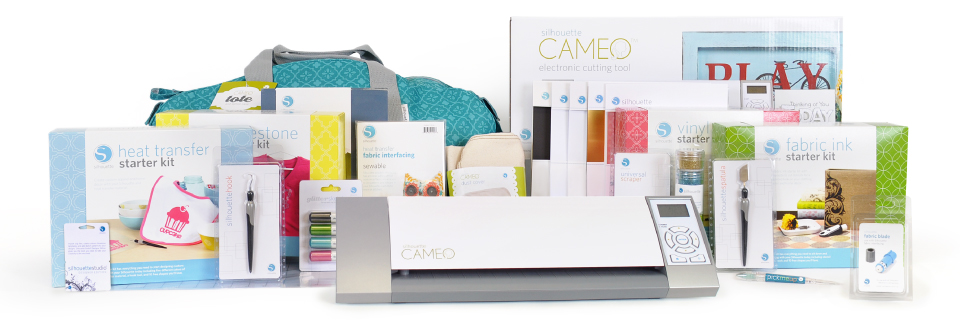
Please read this wonderful offer from Silhouette and participate, you never know, you may be one of the super lucky winners:
Santa has loaded up his sleigh with Silhouette toys and is looking for three very lucky individuals to give them to. Just let him know why you deserve to have a Silhouette Christmas and you could find a pile of Silhouette goodies under your tree this year.
All you have to do is open the Letter to Santa template using the button below and print it out (there will be two sides—the letter side and the wish list side). Using the Letter to Santa template, let Santa know why you deserve to have a Silhouette Christmas. Make your letter fun, light-hearted, and clever. Take a photo or scan of your letter and post it to Facebook and Pinterest (you don’t need to post your wish list—just your letter). Email links of your posts to blog@silhouetteamerica.com.
This offer only applies to the US
We’ll read all the letters and choose three winners. Those three winners will each receive a prize package that includes the following:
- Silhouette CAMEO®
- Silhouette CAMEO® rolling tote
- Silhouette CAMEO® dust cover
- vinyl starter kit
- heat transfer starter kit
- rhinestone starter kit
- fabric ink starter kit
- Silhouette Studio® Designer Editionsketch pens
- pick-me-up™
- scraper
- hook
- spatula
- fabric interfacing
- fabric blade
- adhesive-backed cardstock
- printable silver foil
- printable gold foil
- printable white sticker paper
- adhesive magnet paper
- double-sided adhesive
- glitter
- 12″ x 24″ cutting mat
Print your letter to Santa HERE and good luck my friends!
Glenda
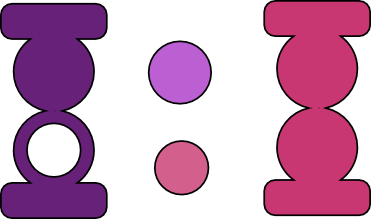
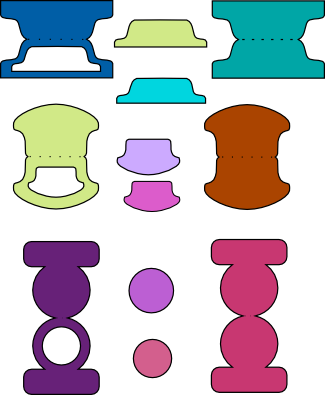
I bring today another free file from Enchant Art. This is a Rounded File Tab part of the collection of File Tabs in the store.
I created this file thinking on organization. They will allow me to remember the contents of my many boxes. Also, they are super decorative and easy to cut. It is so much fun to use them in journals to separate pages or create a recipe book and mark the different kinds of meals.
To download the free SVG file, click HERE.
Please enjoy the free file and also take a look at the complete set HERE.
If you have any question or request, let me know glenda@enchantart.com
Glenda
Tags: Free File File Tabs, Rounded File Tab, Set of File Tabs
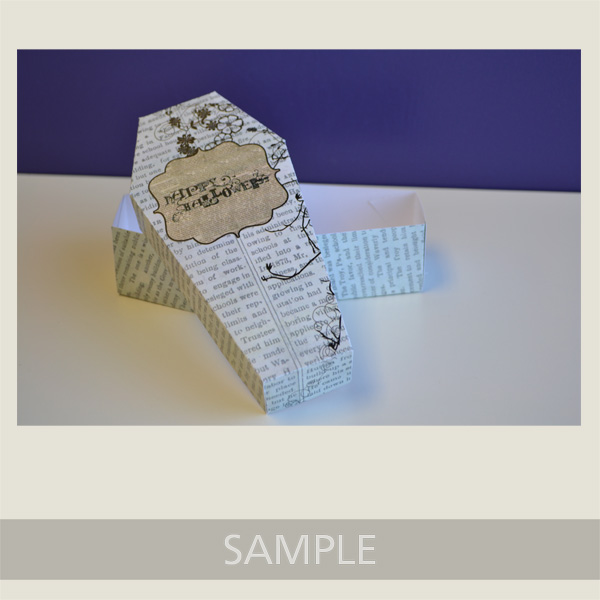
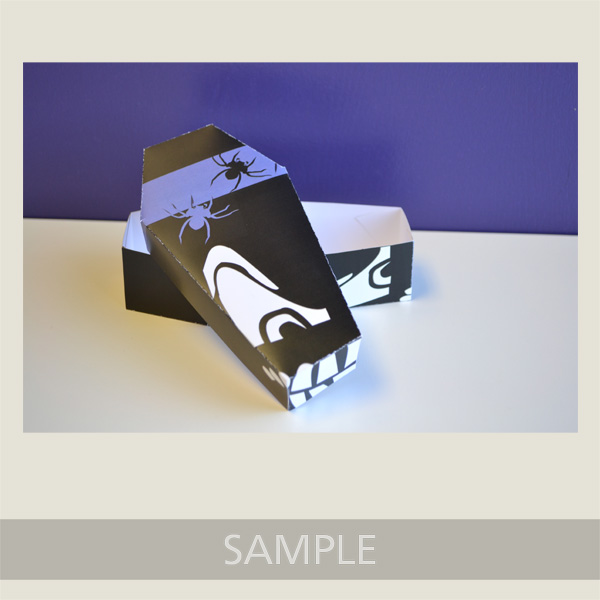
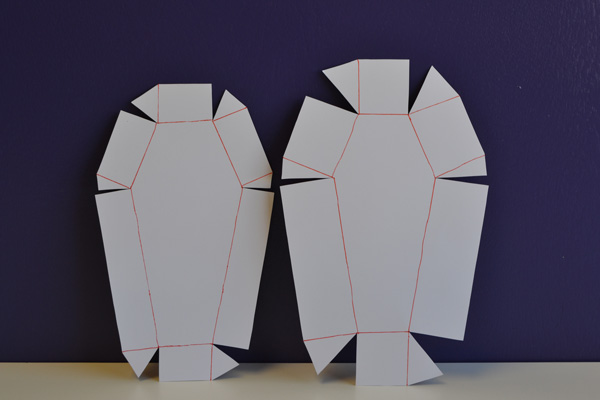
Take a look at these Coffin Box templates from My Memories. They are so cute. I plan to print some of these and fill them with candy for family and friends.
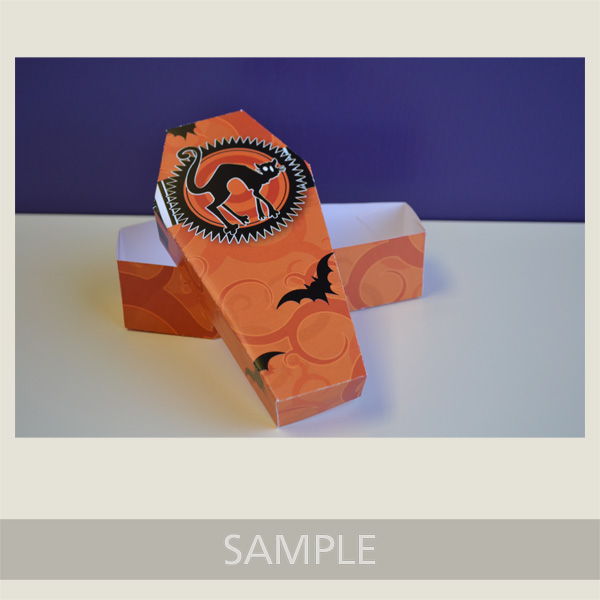
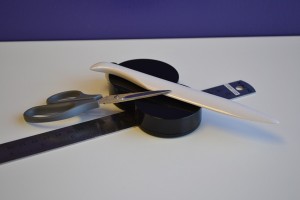
(Recommended supplies: small craft scissors, bone folder, glue runner, ruler)
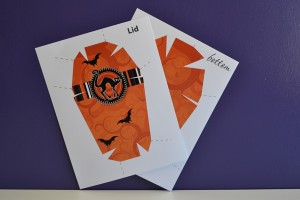
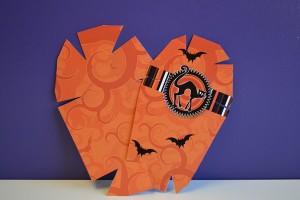
2. Using the scissors cut along outside edges.
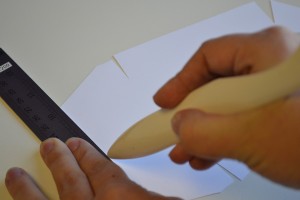
3. Using a bone folder and a ruler, score from each corner to corner, including all inside and outside corners.There should be a total of 13 score lines.
TIP: Use the tip of a bone folder and trace along the edge of a ruler to create score lines on your project.
4. For this tutorial, the score lines have been outlines in orange to make them easier to see.
5. Use the bone bolder and fold all score lines toward the white side of the paper.
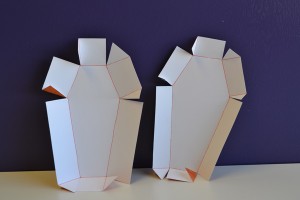
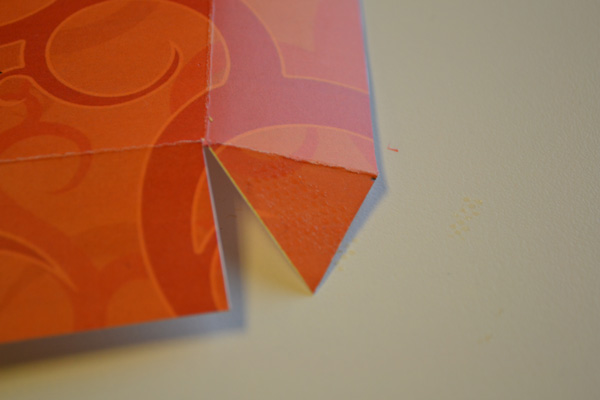
6. Apply glue to all triangular shaped tabs.There should be a total of 6 tabs.
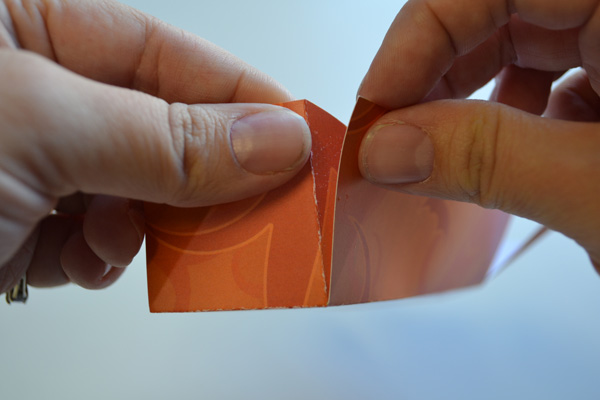
7. Bring the sides up and apply the tab to the back of the side piece next to it.
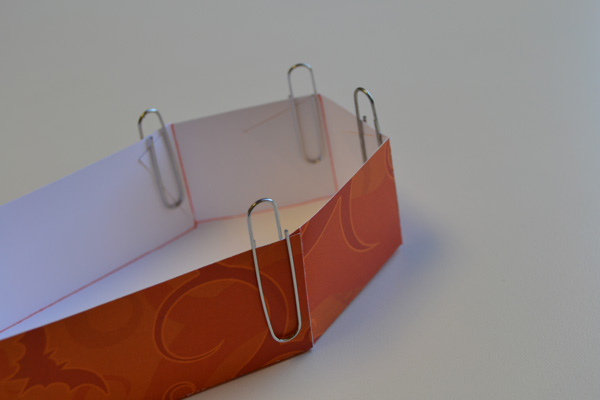
8. If using glue and not a glue runner, you can use paper clips to hold the tabs in place while your glue sets and dries.
TIP: These boxes can be filled with candy, brownies, or any other treat. Also work great as centerpieces or treat boxes.
The templates can be printed using any program that allows you to open pictures. In order to download the files just click on the links under the first three pictures and that will take you to MM website, download the “General Zip” file to your computer.
If you are interested in getting the software, use the coupon code STMMMS36086 at My Memories upon checkout, you’ll receive a $10 discount off the purchase of the My Memories Suite Scrapbook software and a $10 coupon for the MyMemories.com store – a $20 value!
I hope you have a super fun time creating these boxes and giving them to others!
Glenda
Tags: coffin boxes templates, halloween treats boxes, templates for coffins

