This blog is not about decoration, I know that, but I just have the need to share with you my experience in converting a spare bedroom in something useful –to hold my craft materials of course-.
If you are like me, then you know that the worst enemy we have is STORAGE. We never have enough drawers and shelves to keep or display our beautiful papers, materials and creations.
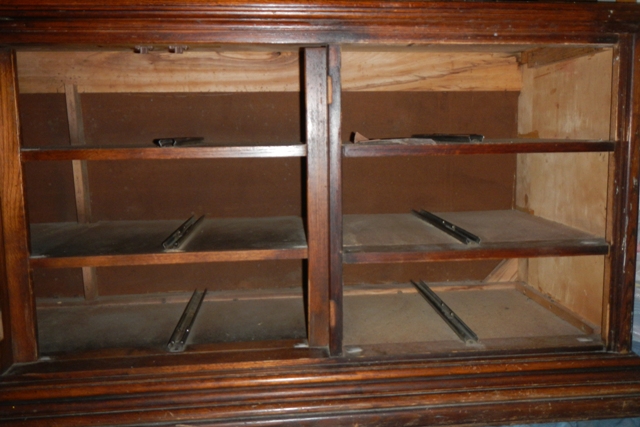
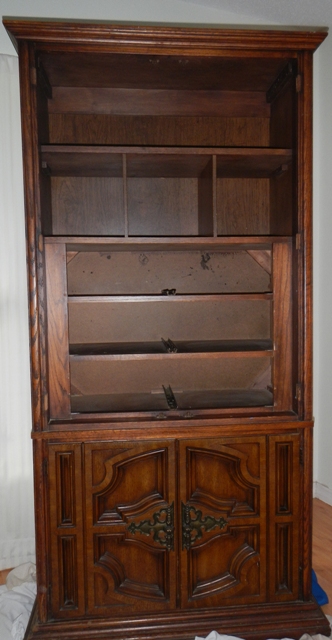
I have a dresser and a chest of drawers that I didn’t like the color. They were brown, ugly and very close to end up at Goodwill. But I didn’t have the heart just to toss these ugly but sturdy furniture (also, I didn’t want to buy new ones). The solution: paint! And that’s what I did!
These are the BEFORE pictures:
- The first step was to remove all the drawers (numbered them to make it easy to put them back). I also removed the long mirrors from the dresser.
- I cleaned all the surfaces with Windex; you can also use a damp cloth to remove dust and dirt.
- There were some holes and I just filled them.
- Let everything dry and gather your materials. The materials I used were:
Primer with bonding agent (water based). This is very important.
Paint, color of your preference, with primer (water based).
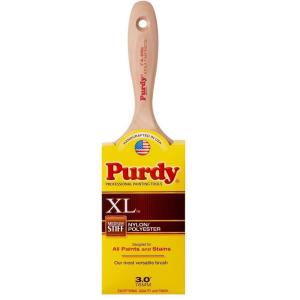
Brushes. Not the cheap ones. Mine were approximately $13. If you use the cheap brushes you are going to regret it, they leave hairs all over and you will be frustrated with the marks they leave on the surface.
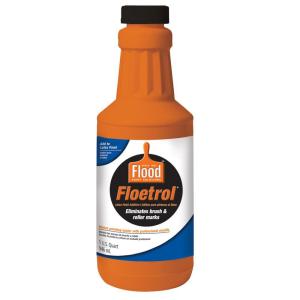
I bought paint thinner called Flood Floetrol 1 Qt. Clear Latex Paint Additive $6.97 at Home Depot.
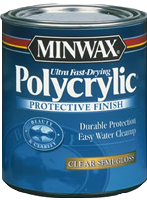
Minwax Polycrylic protective finish.
Sandpaper.
- Once you have all your materials, proceed to prime your furniture. I recommend adding some Floetrol to the primer, I didn’t do it at the beginning and the primer was too thick. Let it dry and lightly sand the surface. Then, prime again until you can’t see anything from the previous color of the furniture. Please, apply thin coats of everything (primer, paint), never apply thick coats, this is very important.
- After the primer, I used the paint with the additive. I had to go over the pieces two times also, sanding in between.
- Once the paint was dry, I added a layer of Polycrylic just to protect the surface and give it a nice shine.
- I let everything dry and positioned the drawers in place, taking advantage I had them out, I added some oil to the rails for better movement.
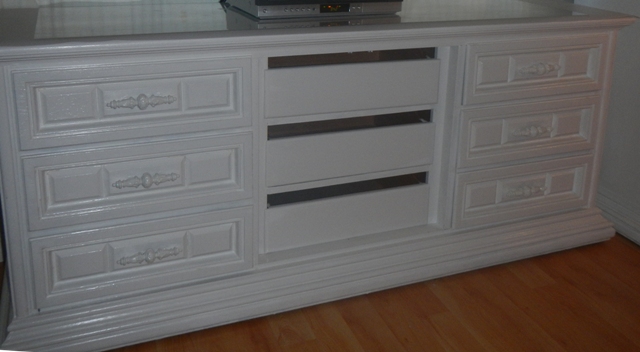
These are the finished pieces. I’m very proud of all the effort (and patience) we put on them. They are going to be a very important part of my storage/craft room and the best part is that I didn’t have to spend a fortune to get new, strong furniture.
I also put a sheet of clear acrylic at the top of the dresser, so I can cut things or use embossing tools without being afraid of messing it up.
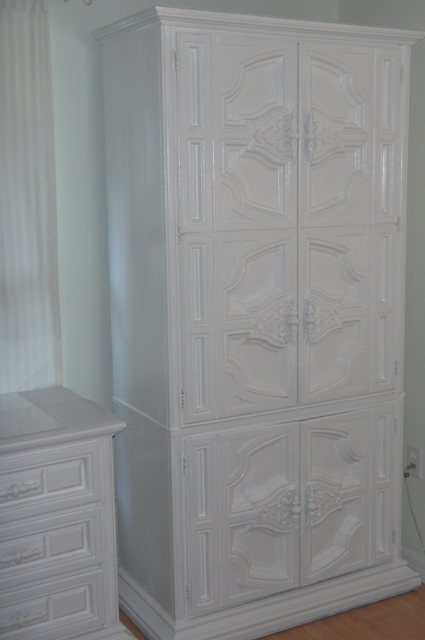
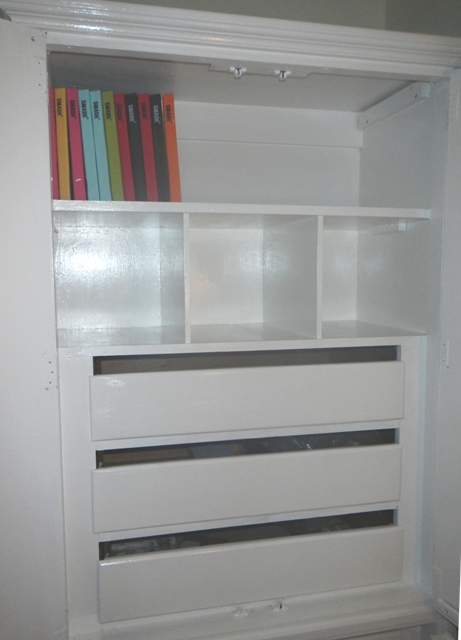
I encourage you to paint a piece of furniture or whaterver you’d like and make it beautiful and useful again. If you have a question, let me know.
Glenda
Tags: How to Paint Furniture the easy way, organizing a scrap room, painting furniture without sanding
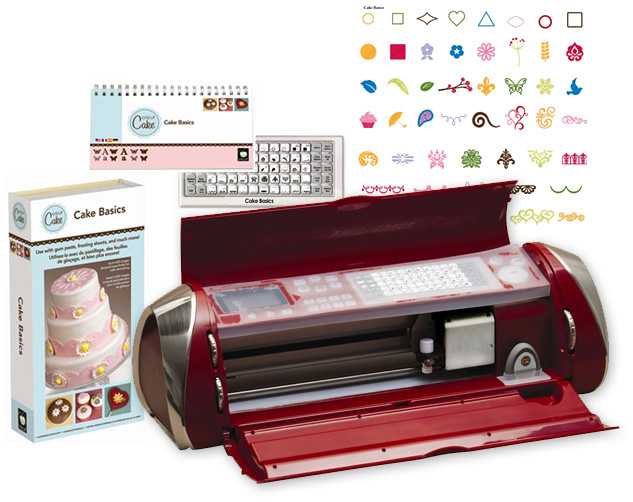
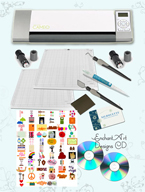
I’m selling a brand new Cricut Cake, full size. I just opened it to make sure it works right. This machine is designed for decorating professional-looking cakes, cupcakes, cookies, and confections. It cuts gum paste, frosting sheets, fondant, etc. But you can also use a deep cricut blade and a regular mat, to cut anything the Expression cuts, like paper, cardstock, etc.
As with the other Cricut machines, just choose a shape, a size, and press CUT. You will be decorating like a professional not just cakes but also your home.
Included with the machine are thousands of shapes, fonts, messages, and designs. The possibilities are endless!
Perfect for professionals and non-professionals alike and no computer necessary. This also works with the Gypsy and Cricut Design Studio and has up to 12” x 24” cutting capability.
Other features include: All-new stainless steel roller, cutting blade, carriage, dials, and trim. All-new blade housing unit, made shorter for more precise cutting. New Cricut Cake blade housing protector. New transparent, full silicone keypad cover to protect screen and buttons. New protective silicone cartridge skirt and port cover to prevent mess. It also includes the following products:
- One 12” x 12” food-safe cutting mat
- EXCLUSIVE! “Cake Basics” cartridge: you can combine styles and sizes to create and cut your own unique shapes, letters and phrases, giving you thousands of options on each cartridge.
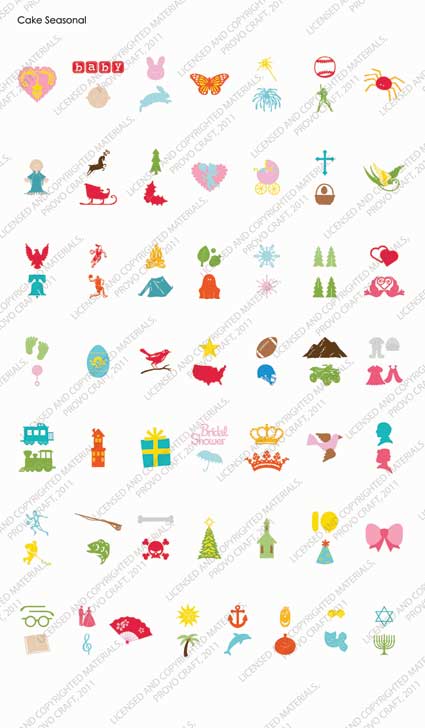
- Also included the beautiful CAKE SEASONAL SAMPLER cartridge:This cartridge is a sampling of favorite images from cartridges past focusing on Events and Seasonal Shapes.
- One stainless steel cutting blade and one power adapter
- One cartridge skirt, one silicone keypad cover, one cartridge port cover
- One stainless steel blade basket and one cleaning brush
- User manuals and guides
I know many artists and crafters that have a hard time marrying their travel with their art or craft. Some have asked me what art/crafts supplies they should bring when they go for a trip. My answer is based more on my own experience, so it may be different for another person.
First, there are some things to consider:
- Are you travelling along or with others? If you are alone, you can stop wherever you like and start painting or drawing on the spot and take your time doing it; but if there are others in your group, you may not have that luxury since you have to keep up with them.
- Are you going to a place where you have to pay for hotel, food, etc.? This can make your travel more costly, so you have to think if you are willing to spend more money in order to stay more time in a place. And another question comes: How much time do you have for a trip? Can you afford to spend several hours or days in one place or do you have more places that you’d like to visit?
- What are you willing or able to carry? Some art/craft materials are not just bulky but also heavy.
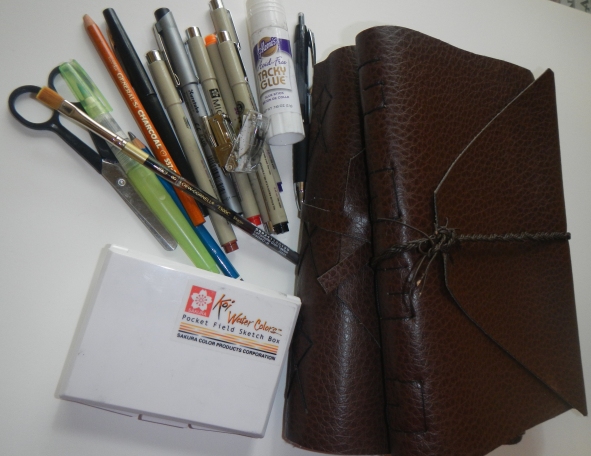
My family and I just came back from a wonderful vacation in Ecuador. We had a limited number of days to visit interesting and very exotic places. I made two journaling books in which I included watercolor paper, envelopes and lighter paper for journaling. One book was for me and the other one for my son. I also brought different colors of journaling pens, a compact watercolor case, pencils and brushes.
I had all the good intentions to do lots of journaling and also to sketch and paint. Things don’t always happen as we plan (at least in our family) and there are many circumstances that we can’t prevent. Between renting cars, airports, packing for the family and follow the itinerary, it was very difficult to accomplish almost anything else. I managed to write some and to sketch a little between planes or at the end of an extremely fun but exhausting day, but not as nearly as much as I hoped.
I carried my materials with me almost all the time, I just didn’t have the opportunity to do much since there was a lot to see and experience.
What did I learn? I learned that time with family is not the best time to devote yourself to your art. I liked to take my book with me since it wasn’t so heavy. I was glad that I included pockets in my book, I put all sort of things there. I also added pamphlets or documentation that I found.
This experience also reinforced the importance of having a good digital camera. I brought my Nikon SLR with me. The camera is not small or light but takes wonderful pictures. Taking pictures gave me the opportunity also to include my family in my activities. At the same time, the pictures reminded me of the details of the day and the locations in case I wanted to paint them.
Now that I’m at home, I’m putting my book together: journaling, receipts and all the ephemera collected during the trip. I’m looking at the pictures that we took, hundreds of moments, with different perspectives according to who was behind the camera. Another good choice was to bring two other cameras with us on the trip: one small and the other a waterproof camera; that allowed us to be prepared for many situations and gave all of us the opportunity to be part of recreating the memories of a extraordinary vacation together.
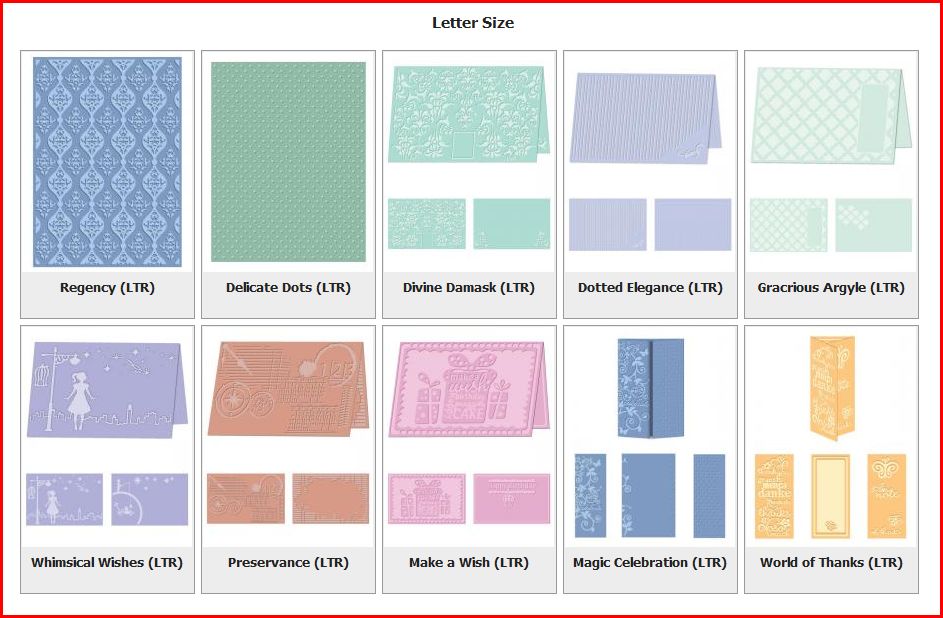
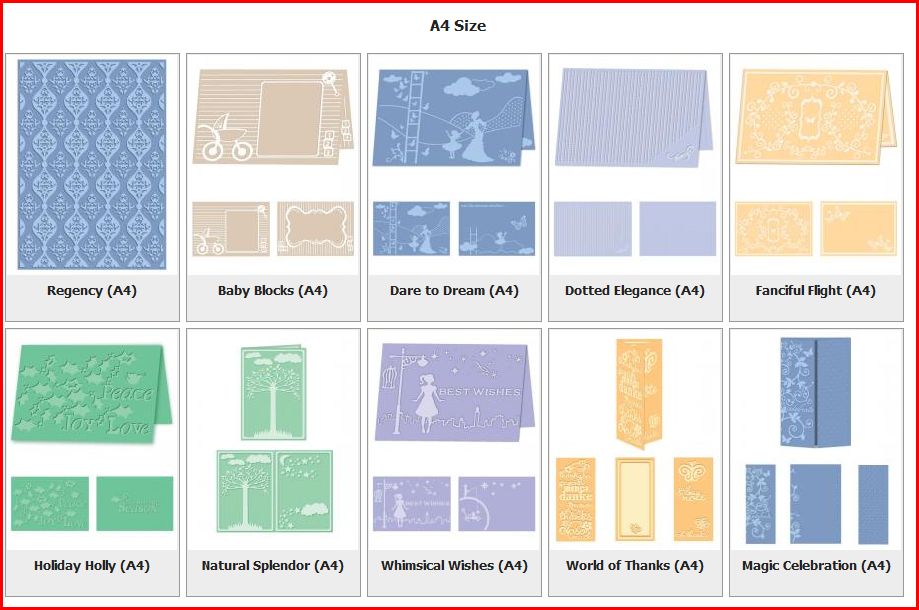
I just want to give you a little glimpse to the new eBosser embossing folders. They will be available beginning of October 2012 according to Craftwell. We will add these beautiful products as pre-orders as soon the machine will be available for our customers. UPDATE: You can order the folders now to receive them in October. Just click here to have more information.
Please take a look and let me know what you think. Personally, I want them and I just can’t wait to play with a larger format embossing folders.
Glenda
According to Craftwell, the eBosser is close to become available to all of us, so very soon we will be playing with this machine that promises to be great. Why?
- Large format embossing & die cutting system: Letter & A4
- Compatible with most cutting dies & embossing folders:
- Craftwell eBosser Embossing Folders
- Sizzix
- Spellbinders
- Cuttlebug
- AccuCut
- AccuQuilt
- Ellison
- QuicKutz
- Lifestyle Crafts
- and others. You can even create your own embossing folder
- Cut or emboss materials up to 8.5 inches wide and 12 inches in length
- Easy to use, you just have to turn on the machine and insert your folder or cutting die with a platform
- Cut through multiple layers of fabric in one pass!
- Cut or emboss leather, wood, foam, metal and more
- Portable. It has a Built-in Handle so you can take your cute machine anywhere you go!
- Everything you need will be included in the box so you don’t have to worry about the platforms or shims to incorporate the other brands of dies you already have.
The eBosser is a nice machine. If you’d like to pre-order it at a special price, click here. The machines will ship according to the date when you place the order. If you have any question, let me know: glenda@enchantart.com
Tags: craftwell, die cutting machine, ebosser descriptiion, electric die cutter, embosser
Hello friends! My family and I just came back from our wonderful vacation to the Galapagos Islands in Ecuador. We had such a great time. Here are some pictures of our adventures. The water was really this color, deep turquoise!
The sea lions are beautiful creatures. They are not afraid of people and you can get very close to them.
We also went to Quito and Guayaquil, the two main cities in Ecuador. The mountains, craters, lakes, weather; everything was just perfect for taking pictures and enjoying. We even had the opportunity to see President Correa at the changing of guard’s ceremony.
What a wonderful experience. If you make a trip like this, I recommend packing light. I thought Quito was going to be cold, but with a light sweater you will be fine. If you have any question about Galapagos or Quito travelling let me know, I may be able to help.
Glenda
Tags: Ecuador trip, Galapagos Islands, pictures of Galapagos
If you were looking to create some adorable purse cards, this is your day! You can download the templates from the My Memories site. Imagine all the possibilies: create cards for tea parties, bridal showers, baby showers, baby announcements, etc. I even created one as a complement for a little girls’s dress.
Just print the templates, cut and assemble them. I like to add flowers and bling to my creations. Here are the downloads, if you don’t have My Memories software, download the “General Zip” file to your computer:
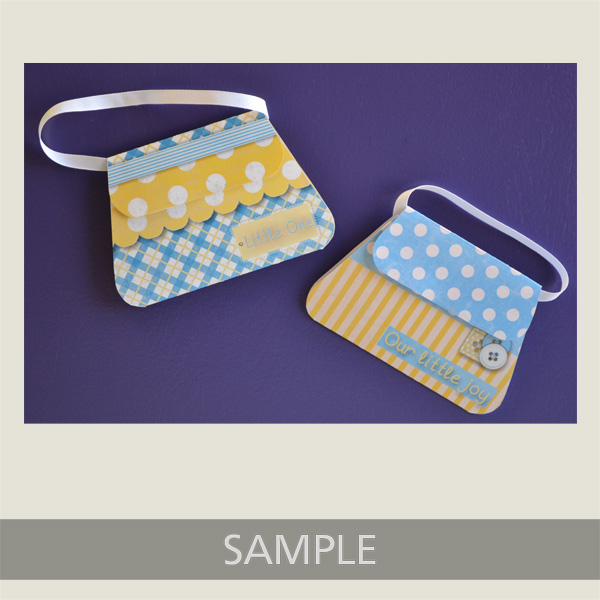 http://www.mymemories.com/store/share_the_memories_kit_2
http://www.mymemories.com/store/share_the_memories_kit_1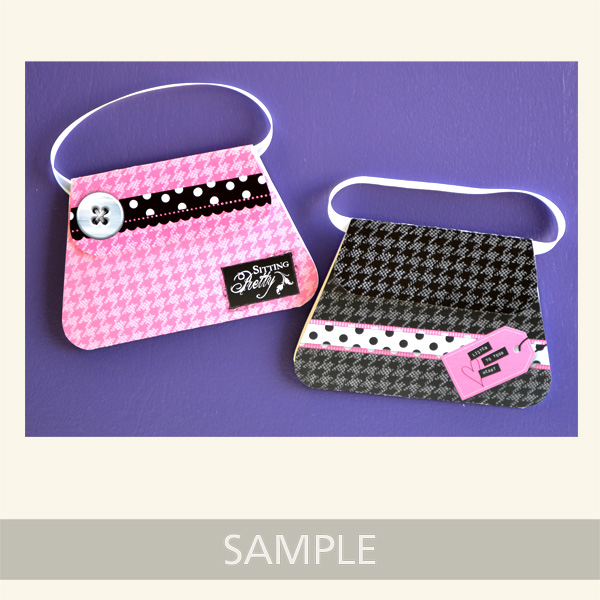
If you are interested in getting the software, use the coupon code STMMMS36086 at My Memories upon checkout, you’ll receive a $10 discount off the purchase of the My Memories Suite Scrapbook software and a $10 coupon for the MyMemories.com store – a $20 value!
I just want to let you know that the eBosser will be available soon at Enchant Art. If you need to pre-order one, please do it as soon as possible since this is a new product and it will be shipped first to the pre-orders.
Enchant Art also offers a layaway plan with 6 monthly payments. Please make a click here for more information.
I think it is a very promising product and I can’t wait to play with it! Here is the video of the eBosser, judge for yourself and let me know how do you like it.
If you have any question, let me know at glenda@enchantart.com
Les quiero dejar saber que la nueva maquina de gofrado y para hacer relieves, el eBosser estara pronto a disposicion en la tienda de Enchant Art. Si necesita pre-ordenarlo, hagalo pronto, ya que los que hagan su transacccion primero seran los que la reciban mas pronto. Asi tambien si desea hacer su pago por partes, lo puede hacer con el sistema de Pago a Plazos. Visite nuestra tienda para mas informacion, pero aqui les pongo un video para que se den una idea de la maquina, que es electrica tambien.
Si tiene alguna pregunta, me la deja saber a mi correo electronico glenda@enchantart.com
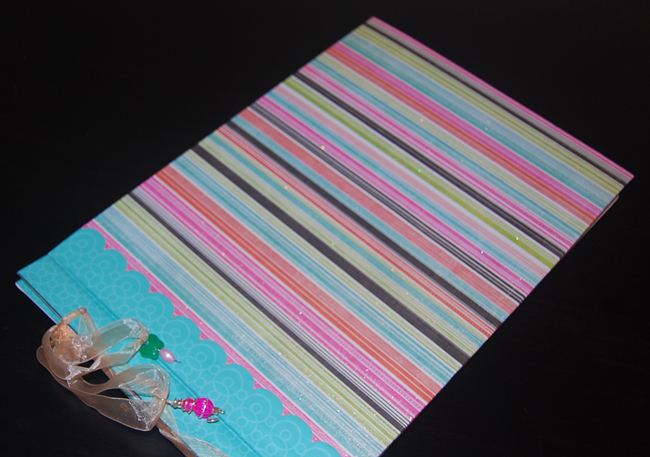
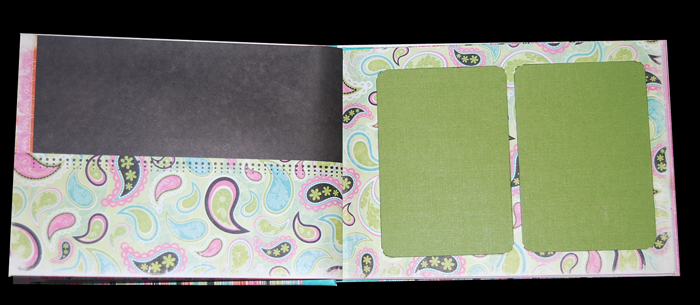
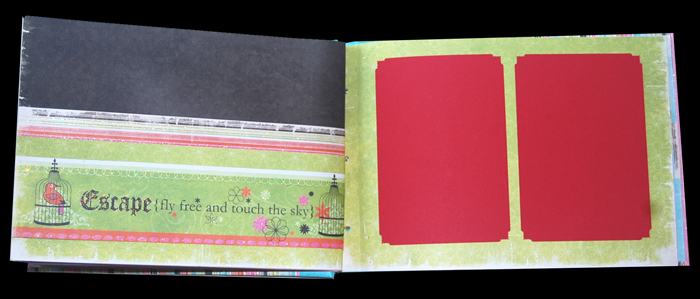
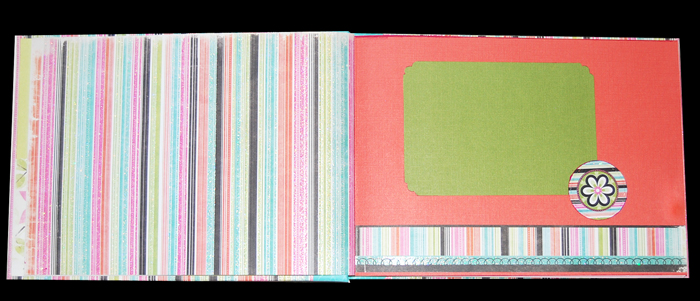
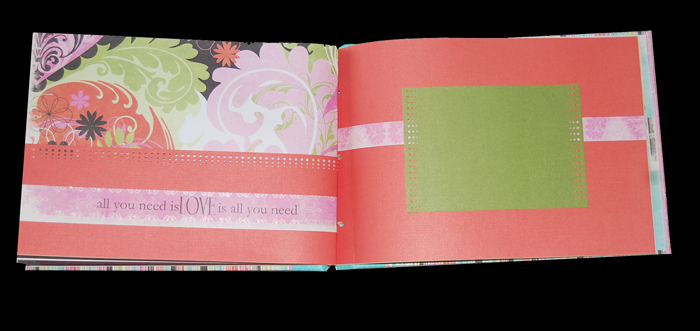
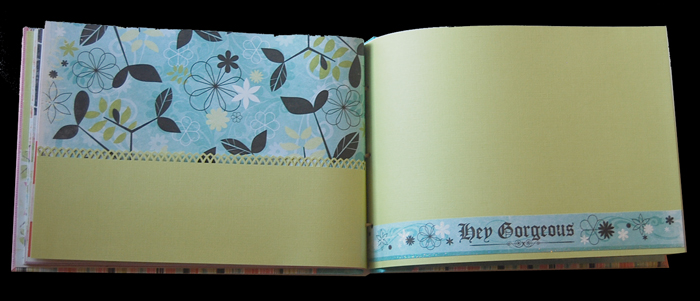
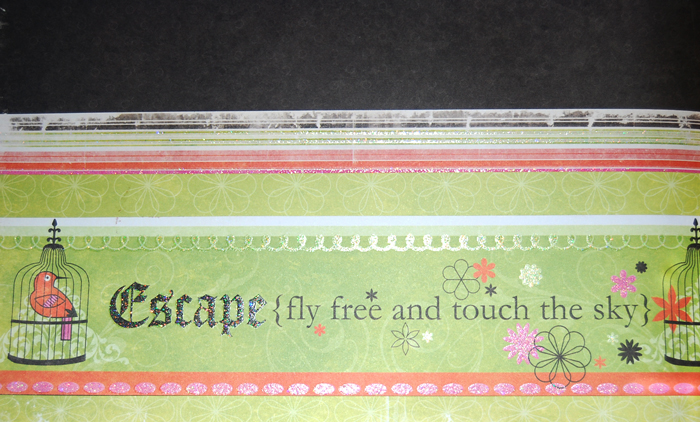
I made this scrapbook using the WRMK design paper Tiffany. It was a lot of fun to put it together and think what would be the best way to bind it. Since I wanted to give the owner of it some flexibility to change the order of the pages or to add more pages, I decided to make a side binding using ribbon and adorned with metal and beads.
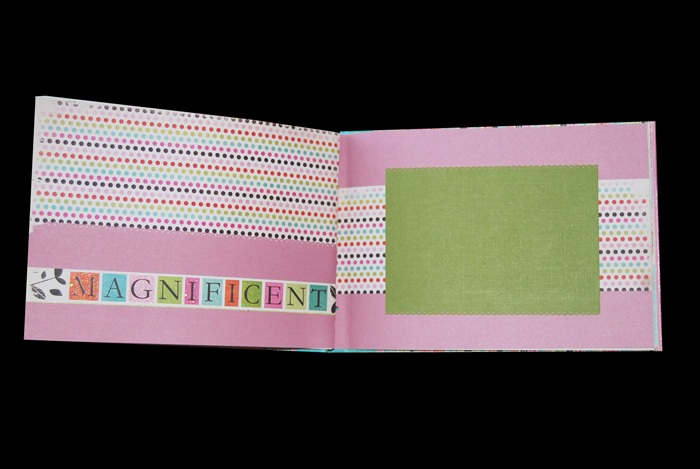
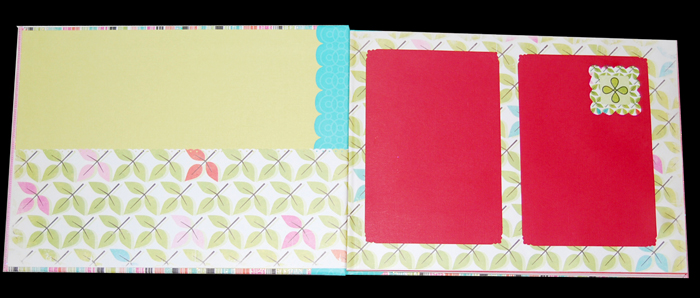
The main focus in this album are the pictures that are going to be inside, so I created mats for the pictures as well as blank pages with pockets to add pictures and also memorabilia.
If you’d like more information about this photo album, please click here. If you’d like to get the paper collection to make your own, click here. And, if you’d like this album made by me using other colors or paper collection, send me an email to gcastillo@enchantart.com I would be happy to make one of a kind album for you or for a gift. All the materials used are acid free to preserve the contents for generations.
Here are other pictures of the pages:
As you can see, all the pages are coordinated and can handle multiple photos and journaling.
Tags: handmade books, handmade scrapbook, photo book, scrapbook, tiffany scrapbook
I participated in a book swap recently and created this garden journal for a partner.
It was a challenge to make it since I wanted it to be sturdy as well as pleasant to the touch. Also, I wanted it to be helpful to the recipient and to contain all the information that she may needed in order to organize and have fun while gardening.
I bound it with metal rings through the spine to make the journal easy to open, since it has plenty of pages to write down the information about plants, seeds, notes, to do lists, etc. Also, I included pockets and calendars to make it more complete.
Here are some more images of the book:
This first page included some painted flowers on fabric, lace, butterfly and a heart that I made with plaster.
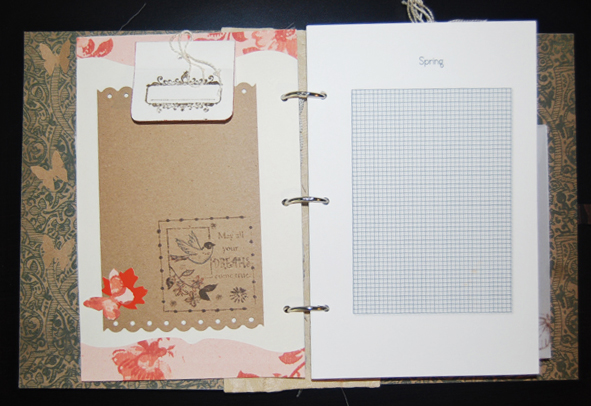
This picture shows a pocket with a small journaling pad on one side and the plot organizer in the other. There are 4 different pages with grids, according to the season.
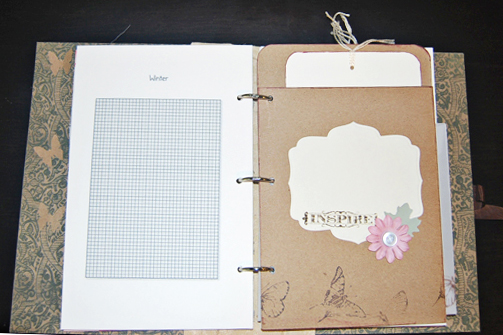
This page features another pocket with an embossed tag inside. There are also stamped butterflies and a flower.
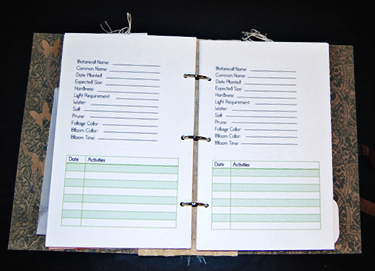
Here are more pockets, vellum envelopes stamped with different garden related stamps. After that, there are pages to include the Seed information, Plant information, etc.
In these pages, she can record when and what is happening in the garden.
This page shows one of the calendars included. There is one page for each month of the year. The other side shows another pocket with another tag. Also, a cut birdcage with a little bird inside. Cute isn’t it?
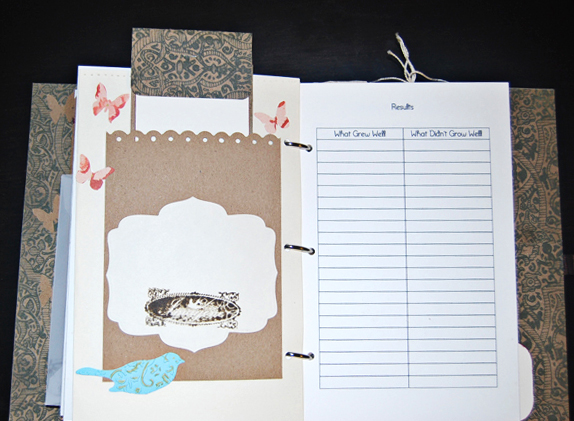
More pockets, bird, butterflies around it. I like this page since she can write down the results from her gardening. Some plants grow, some don’t. It’s good to know!
This page is for Notes and of course, more pockets. There are other pages included that I didn’t photograph, but I really like how this journal looks and feel.
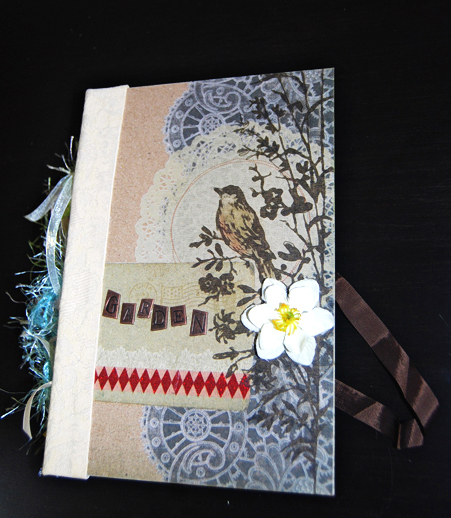
The spine is reinforced with heavy fabric and the front cover has metal pieces of the alphabet that spell the word Garden. I really hope the recipient of this journal likes it and use it for her garden adventures.
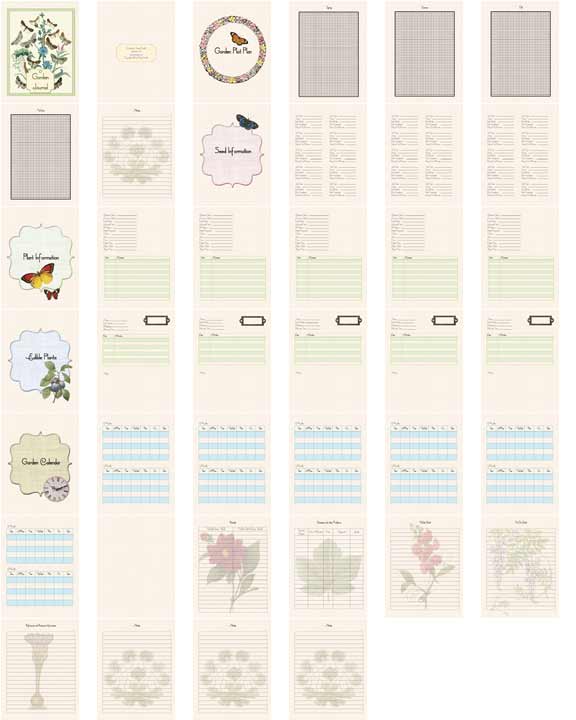
I was very inspired creating the journal, so much that afterwards I decided to embellish the pages more with beautiful graphics and to offer it to my customers as a digital file download. I also included a very easy to follow tutorial on how to bind the pages, not the same as the one I used here but easy enough for anybody to try it and make a journal for yourself or as a gift for somebody else. These are how the digital pages look:
If you would like to get the digital download, click here. If you have a question or a comment, please let me know here or you can also write to my email glenda@enchantart.com
If you would like to purchase a garden journal, I can create one for you, just let me know with some time in advance since each is one is unique and made tailored to your needs.
Have a wonderful day!
Glenda
Tags: Garden Journal, handmade garden journal, Make your Own journal
