In this session we will make the book ready for writing, painting, etc. So..let’s start!
1. The first question that you need to address is your book theme. What is your book going to be about? Mine is going to be a little bit simple, there are many things happening now and I want to really enjoy my altering book time. Remember, the purpose of altering a book is to make art but also to relax in the process.
The title of my book is going to be: My favorites… or maybe just Favorites…As you see, I don’t need the exact title now since the cover is the last thing that we will decorate. I just want to have an idea of the theme.
Next, I will develop a little plan and consider more or less how many pages I need, and also, if I want to add dimensional objects; if that’s the case, I will make a niche for them.
I like to have a box, where I start collecting all the objects that I may integrate to my book (pictures, wrappers, papers, etc.) and also I put the book there, so everything is nice and organized 🙂
2. When you choose a book, remember to get a hard cover book with strong pages. The theme of the book is not important if you are planning to cover all the writing with paint or other papers. If you like the content of the book, you can leave some of that content (words or pictures) and use them as part of your completed design. We will be exploring different techniques that can be applied to the pages.
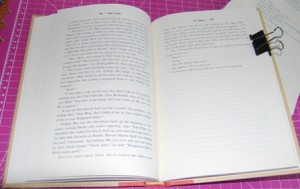
Right now, your book should look something like mine:
3. The next step is to get more room in your book for paint, ephemera, or other materials that you’d like to integrate. Since the book is already filled with pages, we need to thin it by tearing out some of the pages.
Before I start ripping out the pages, I need to decide if I will make a niche. If I do, then I leave enough untouched pages at the back of the book. I put a clip or a scrap paper to let me know where that section will start.
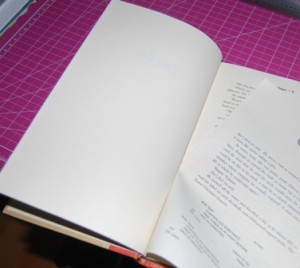
Then, I proceed to tear out my pages, I find it relaxing. If you prefer, you can cut the pages with a craft knife and a mat behind the pages that you want to cut.
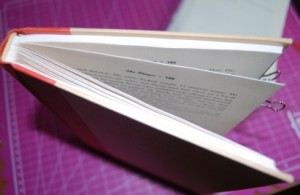
I usually follow a pattern, I leave one page untouched and tear two or three of the following pages, depending if I’m thinking on integrating thicker materials to my project or not. When I finished, my book looks like this (much thinner):
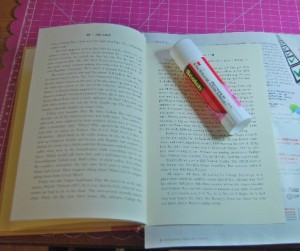
4. Depending on the book, some pages will be strong enough to have you draw or use coloring pencils or other dry materials. If you are thinking on using watercolors, or any kind of paints, I recommend strengthening the pages by gluing two pages together using a glue stick. I also hide some raw edges from the step above, by sandwiching them between two pages.
When adhering two pages together, you need to protect the pages behind with scrap paper.
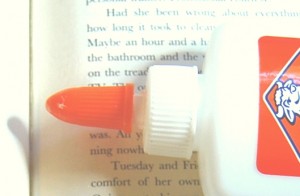
Rub the glue stick to the front of the second page, start from the spine and going outwards to the edges. Make sure to cover the entire surface. I also apply a thin line of white glue very close to the spine to strengthen the spine at the same time.
Then, take the first page and firmly, rub your palm from the area close to the spine outwards to the edges. After that, I burnish the pages with a bone folder to assure the adhesion and avoid air bubbles or wrinkles.
Do the same with the following pages, leaving alone the last section for the niche.
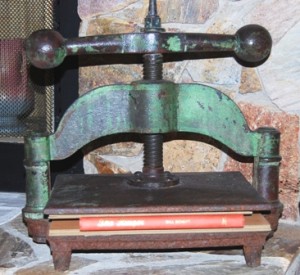
5. Once you finish adhering pages in pairs, press the book between two heavy books or boards for a few hours. I have this beautiful press, but the same results can be achieved with anything heavy on the book.
Leave this book to rest for a little. Now is the time to start selecting the color scheme, the materials you will be using and the objects to add. Don’t be afraid, this is a liberating project, remember? No stress, just fun!
If you’d like, you can start experimenting with paints. The next session we will cover the different ways to add paint and color to your pages so get ready.
Until next time!
Glenda




[…] This is the second part of my series about altering books. If you need to read the first part, you can find it here. […]