This blog is not about decoration, I know that, but I just have the need to share with you my experience in converting a spare bedroom in something useful –to hold my craft materials of course-.
If you are like me, then you know that the worst enemy we have is STORAGE. We never have enough drawers and shelves to keep or display our beautiful papers, materials and creations.
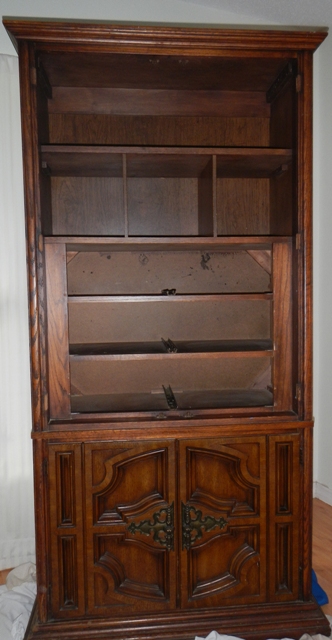
I have a dresser and a chest of drawers that I didn’t like the color. They were brown, ugly and very close to end up at Goodwill. But I didn’t have the heart just to toss these ugly but sturdy furniture (also, I didn’t want to buy new ones). The solution: paint! And that’s what I did!
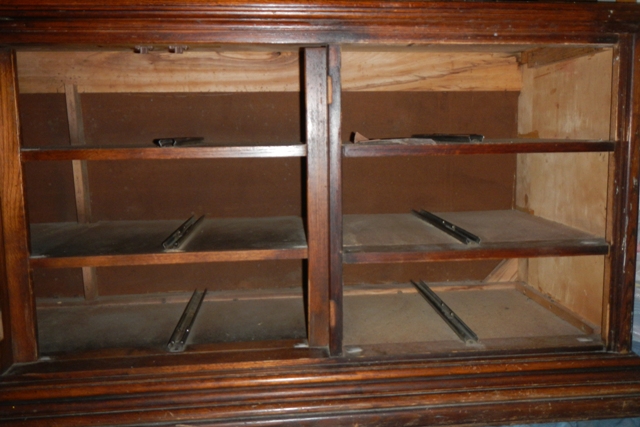
These are the BEFORE pictures:
- The first step was to remove all the drawers (numbered them to make it easy to put them back). I also removed the long mirrors from the dresser.
- I cleaned all the surfaces with Windex; you can also use a damp cloth to remove dust and dirt.
- There were some holes and I just filled them.
- Let everything dry and gather your materials. The materials I used were:
Primer with bonding agent (water based). This is very important.
Paint, color of your preference, with primer (water based).
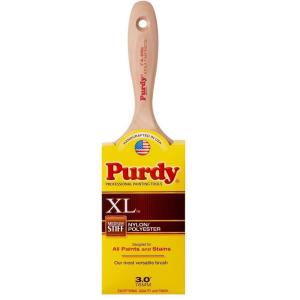
Brushes. Not the cheap ones. Mine were approximately $13. If you use the cheap brushes you are going to regret it, they leave hairs all over and you will be frustrated with the marks they leave on the surface.
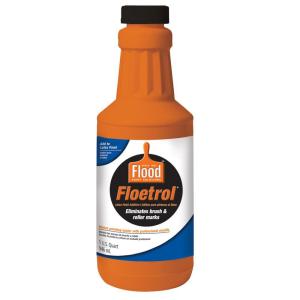
I bought paint thinner called Flood Floetrol 1 Qt. Clear Latex Paint Additive $6.97 at Home Depot.
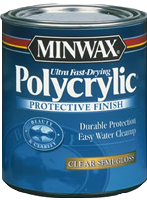
Minwax Polycrylic protective finish.
Sandpaper.
- Once you have all your materials, proceed to prime your furniture. I recommend adding some Floetrol to the primer, I didn’t do it at the beginning and the primer was too thick. Let it dry and lightly sand the surface. Then, prime again until you can’t see anything from the previous color of the furniture. Please, apply thin coats of everything (primer, paint), never apply thick coats, this is very important.
- After the primer, I used the paint with the additive. I had to go over the pieces two times also, sanding in between.
- Once the paint was dry, I added a layer of Polycrylic just to protect the surface and give it a nice shine.
- I let everything dry and positioned the drawers in place, taking advantage I had them out, I added some oil to the rails for better movement.
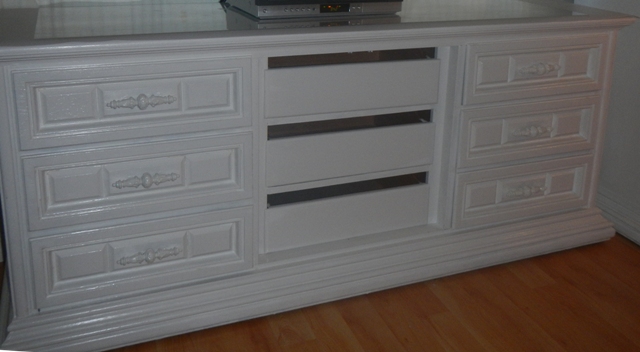
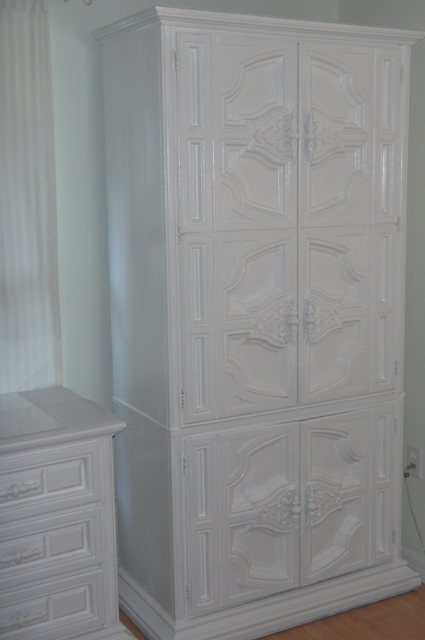
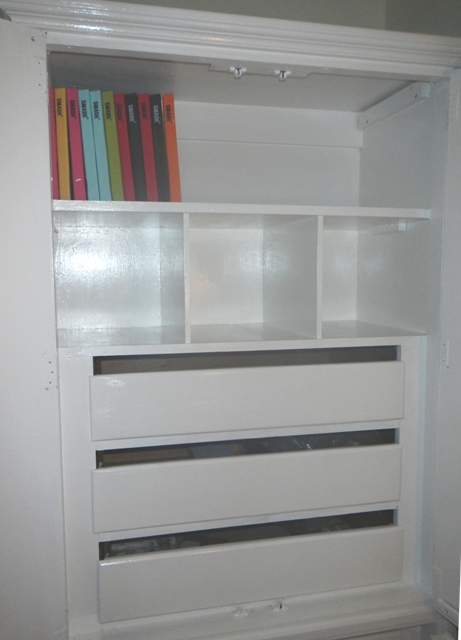
These are the finished pieces. I’m very proud of all the effort (and patience) we put on them. They are going to be a very important part of my storage/craft room and the best part is that I didn’t have to spend a fortune to get new, strong furniture.
I also put a sheet of clear acrylic at the top of the dresser, so I can cut things or use embossing tools without being afraid of messing it up.
I encourage you to paint a piece of furniture or whaterver you’d like and make it beautiful and useful again. If you have a question, let me know.
Glenda
Tags: How to Paint Furniture the easy way, organizing a scrap room, painting furniture without sanding
