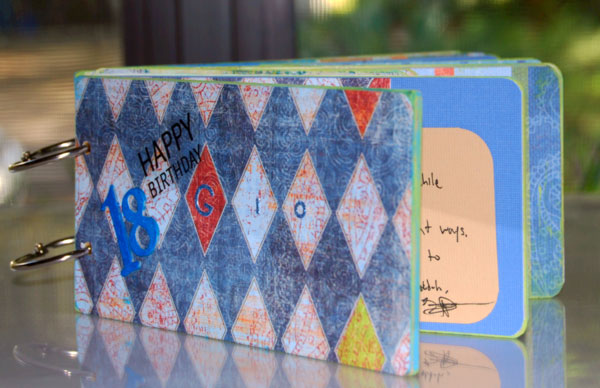
I made this mini album for my son’s 18th birthday really fast. I had to do many things that weekend but at the same time I wanted something nice for this special birthday. I wanted a place where we could write little notes to him and also with enough space for him to add some important things that may happen this year.
Hice este album para el cumpleaños numero 18 de mi hijo. No tenia mucho tiempo para hacerlo, sin embargo queria algo especial, en donde podriamos escribirle pequeñas notas, asi tambien que el tuviera suficiente espacio para añadir notas o cosas importantes que le pasaran este año.
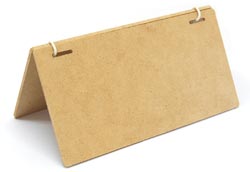
So, what I did was to take a Kaisercraft Beyond The Page MDF Rectangle Album Cover which measures measures 7″ X 3.5″, the perfect size for my project.
Lo que hice fue tomar el product de Kaisercraft Beyond The Page MDF Rectangle Album Cover el cual tiene dos cubiertas con el tamaño perfecto.
Then, I made two holes to the left side of the boards using my CropaDile. Those holes were going to be for the two O rings that will bind the book together when finished.
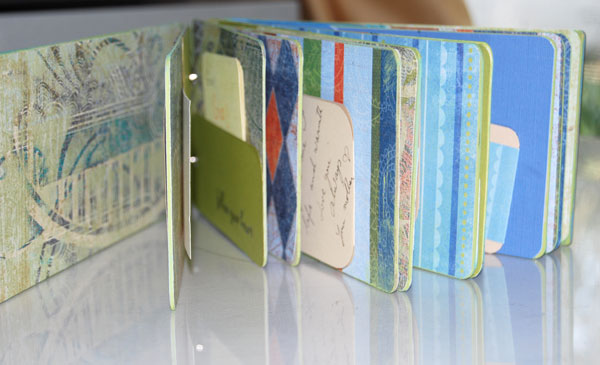
I measured one board in order to cut all the pages that I needed. Then, I cut the pages from cardstock and decorative paper. Once I had all my pages cut, I glued two cardstocks together (back to back) in order to make the pages sturdier. For some pages, I also glued some decorative paper on top of the cardstock.
I also cut smaller pieces of cardstock to make pockets. Added more decorative papers, etc. The idea also was to keep it simple and masculine, appropriate for an 18 year old.
After I finished embellishing the pages, I made the holes to the pages using the board as template.
The board was also covered with decorative paper but first I painted the edges of the boards with craft paint. I added some stickers to the front and the book was ready!
Hice dos agujeros en la parte izquierda de las cubiertas. Esos huecos van a servir para ponerle los dos anillos que sujetaran el libro una vez terminado. Medi una cubierta para saber de que tamaño serian mis paginas. Corte las paginas usando una cartulina gruesa, asi tambien corte papeles decorativos del mismo tamaño. Prosegui a pegar dos cartulinas juntas para hacer una pagina mas fuerte. Asi tambien, a algunas les pegue papeles decorativos encima. Tambien corte cartulina para hacer unos bolsillitos aqui y alla. Despues que termine de pegar todo, hice los huecos en las paginas tomando como referencia una de las cubiertas. Las cubiertas tambien tienen papel decorativo y pinte las orillas de las mismas con pintura.
By the way, he really liked it and we all had fun writing little notes of “wisdom” inside. You can also add a gift card from his favorite store or a coupon for something that he likes to get. If you have more time you can print small pictures showing the most important times in his life (chronological, black and white, for example)
Let me know if you have any question and have a blessed day!
Les digo que le gusto mucho el librito a mi hijo y fue muy divertido escribirle notitas adentro. Pero tambien puede ponerle una tarjeta de regalo o poner fotos de el cuando era pequeño, cronologicamente y en blanco y negro por ejemplo. Si tiene alguna pregunta me la deja saber. Que tenga un dia maravilloso!
Glenda
Tags: 18 years old boy card, birthday masculine mini album, mini book
