If you’d like to add a picture of your finished project to a design in Silhouette Studio, follow these steps and you will always remember how that design look like when finished:
- Take a picture of the finished project and save it. This picture will have the extension .jpeg at the end of its name.
- Open the Silhouette sofware. Open the design where you would like to add the picture. Click on File, Merge, a new window will open. In this window, click the arrow next to “Files of type” and choose “All Files“.
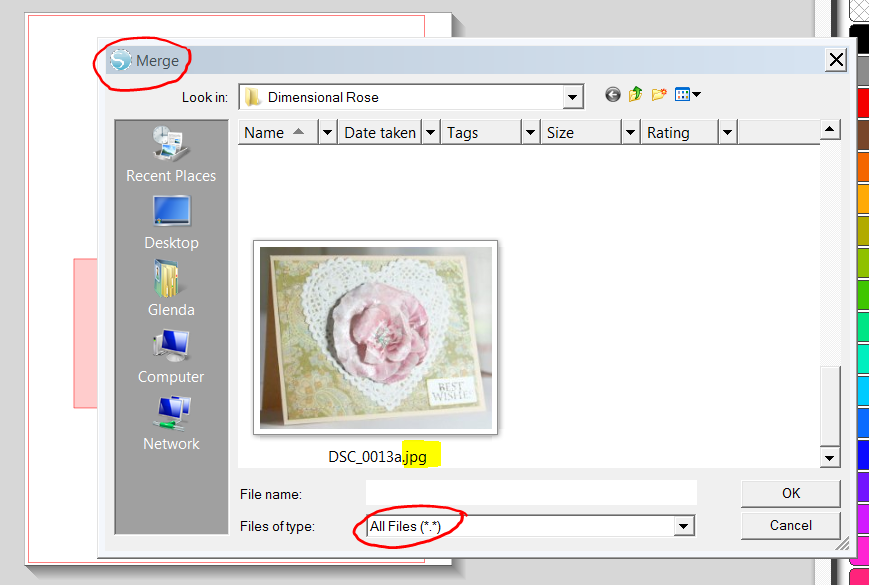
3. Look for the picture of the finished project. Click on it and click OK.
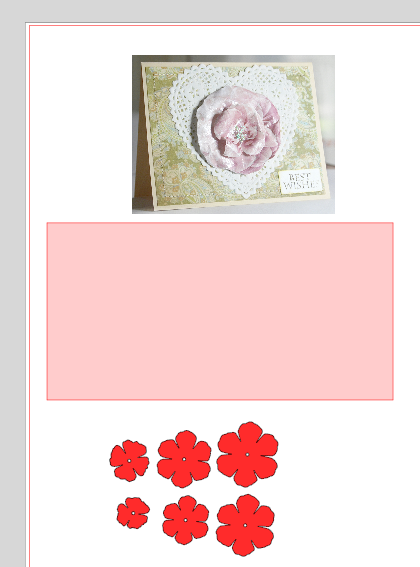
4. The .jpeg is going to open in the same window where the design is.
5. Click on File, Save in Library.You will see this window:
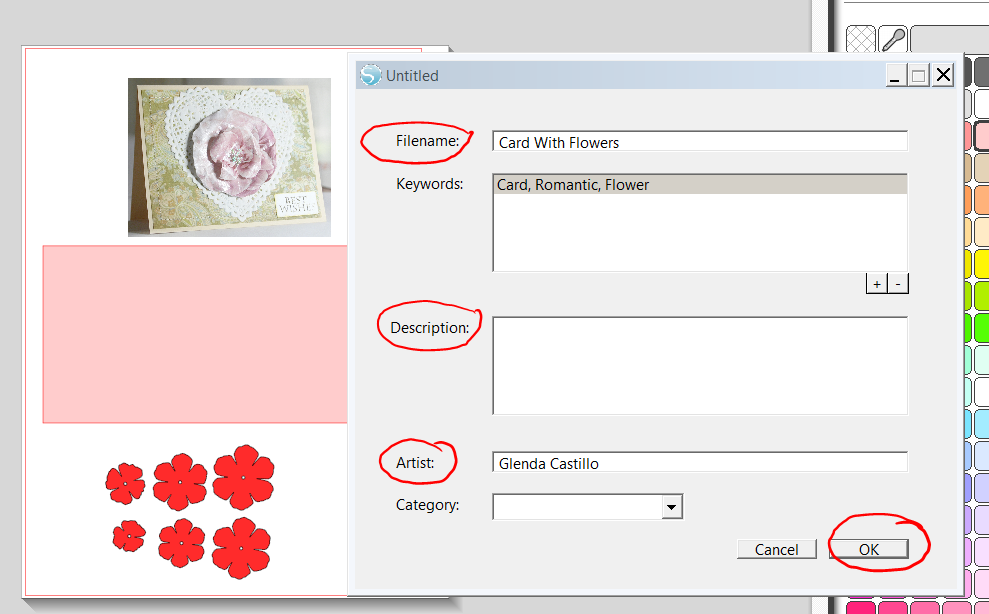
Enter the filename and any other information and click OK.
You already saved the design with the finished project in your Library. When you look for it the the Library you will see something like this: 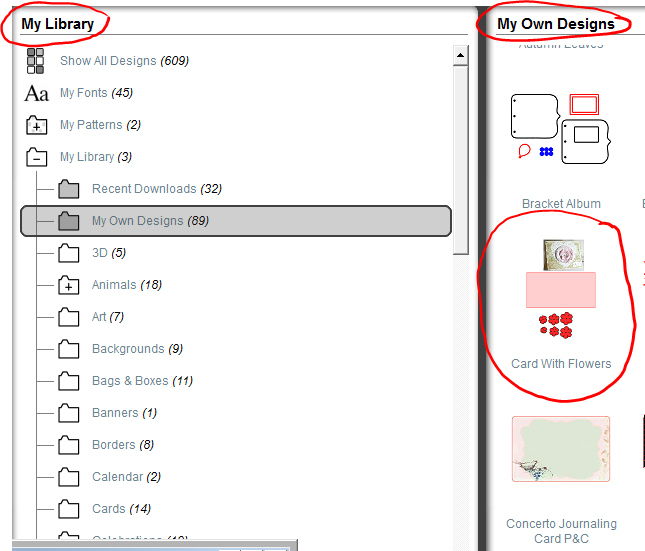
This is a tutorial that a great customer, Puri from Spain asked. Also, answering to the Enchant Art customers questions is one of our priorities.
Happy cutting,
Glenda
Una clienta esplendida de España, Puri, me hizo una pregunta y es como poner una foto del diseño ya terminado para que aparezca junto al diseño mismo cuando abre la Biblioteca. Si usted desea hacer esto siga los siguientes pasos:
-
Guarde una foto del proyecto terminado con la extension .jpeg en algun lugar de la computadora donde lo pueda encontrar facilmente.
-
Abra su programa de Silhouette. Abra el diseño al que desee añadirle el .jpeg. Haga un click en File, Merge para que salga la ventana de abrir un archivo. Donde esta la flechita al lado de “Files of type” haga un click y escoja “All Files“.
-
Busque entre sus archivos la figurita que representa su proyecto con la extension .jpeg. Haga un click en el icono y OK.
-
El .jpeg le va a abrir y aparecer en la pantalla del programa de Silhouette junto al diseño.
-
Haga un click en File, Save in Library. Le va a salir esta pantalla:
Aqui le agrega la descripcion necesaria, etc. y haga un OK.
Con esto, ha guardado el diseño con la figura del proyecto terminado. Cuando lo busque en el Library va a verlo asi:

Tags: Add a picture to library in silhouette studio software, añadir una foto a la biblioteca en silhouette studio
|
|


