Hello friends of Enchant Art! We are giving all of you the opportunity to get a digital file from Enchant Art with a coupon code that you will add at checkout. That simple!
The coupon code is: ENCHANTART
And the link to the website is:
http://enchantart.com/digital-files
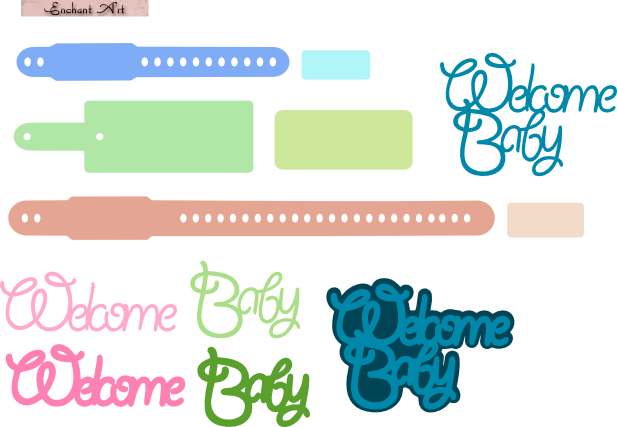
Take a look at some of our new files:
Have fun!
Glenda C.

Tags: coupon code for digital files, coupon Enchant Art, free cutting digital files
A few days ago, I came back from my vacation. To my surprise, my computer would not start anymore. Immediately, I thought of my designs stored in the Library of Silhouette Studio.
Also thought about how important it is to make a backup of your own designs as well as the ones you buy from the Silhouette store, because this can happen to anyone.
But, where are the designs that you purchase low or Silhouette website?
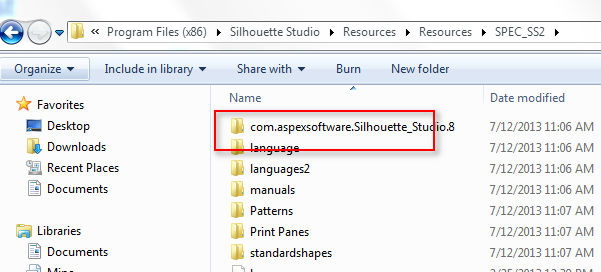
If you look for them in the Silhouette folder on the hard drive, you will not find them easily. They are all grouped in a folder called com.aspexsoftware.Silhouette_Studio.8.
Once you find this folder, save it to a flash drive or an external hard drive just in case you need to recover your Library.
For the Mac user: Open your “Finder” program and go to Macintosh HD > Library > Application Support > com.aspexsoftware.Silhouette_Studio.8.
For the PC user: Browse your computer to find C:\Documents and Settings\All Users\Application Data\com.aspexsoftware.Silhouette_Studio.8.
In my computer, I found it at:
C:\Program Files (x86)\Silhouette Studio\Resources\Resources\com.aspexsoftware.Silhouette_Studio.8
So, in the event that your computer crashes and you need to recover your library to install it in another computer, follow these steps:
Install Silhouette Studio in your new computer.
Find the folder noted above (com.aspexsoftware.Silhouette_Studio.8) that you saved already in a flash drive.
In your new computer, browse and find the com.aspexsoftware.Silhouette_Studio.8 folder. Delete that folder completely and copy in its place the one that you saved before (from the old computer).
This will restore your Library and you will not lose any of your precious files.
This method is also good if you’d like to have the same files in two computers. Also, remember to make periodical backups just in case.
I hope this information is helpful for you and can save your designs from getting lost forever.
Glenda
Ahora, en Español:
Hace unos dias regrese de mis vacaciones. Para mi sorpresa, mi computadora ya no prendia mas. Inmediatamente pense en mis diseños guardados en la Biblioteca de Silhouette Studio.
Ademas pense en lo importante que es hacer un “backup” porque esto le puede ocurrir a cualquier persona.
Pero, donde estan los diseños que uno baja o que compra del website de Silhouette? Si los busca dentro de la carpeta de Silhouette en el disco duro, no los va a encontrar facilmente. Todos ellos estan agrupados en una carpeta llamada com.aspexsoftware.Silhouette_Studio.8.
Una vez que encuentre esta carpeta, debe guardarla en una unidad flash o un disco duro externo en caso de que necesite recuperar su biblioteca.
Esta es la manera de encontrar la carpeta antes mencionada:
Para el usuario de Mac: Abra el programa de “Finder” y vaya a Macintosh HD> Library> Soporte de aplicaciones> com.aspexsoftware.Silhouette_Studio.8.
Para el usuario de PC: Buscque en su equipo para encontrar
C: \ Documents and Settings \ All Users \ Datos de programa \ com.aspexsoftware.Silhouette_Studio.8.
En mi computadora, lo encontré en:
C: \ Archivos de programa (x86) \ Silhouette Studio \ Resources \ Resources \ com.aspexsoftware.Silhouette_Studio.8
Por lo tanto, en caso de que su ordenador se bloquee, y le sea preciso recuperar la biblioteca para instalarla en otro equipo, siga estos pasos:
Instale Silhouette Studio en su nuevo equipo/computadora.
Encuentre la carpeta que se ha indicado anteriormente (com.aspexsoftware.Silhouette_Studio.8) y que ya ha guardado en una unidad flash.
En su nuevo equipo, busque la carpeta com.aspexsoftware.Silhouette_Studio.8. Elimine la carpeta completa y copie en su lugar la que guardó antes (del equipo antiguo).
Esto restaurará la biblioteca y no se perderá ninguno de sus archivos más preciados.
Este método también es bueno si usted quisiera tener los mismos archivos en dos ordenadores. Además, recuerde hacer copias de seguridad periódicas por si acaso.
Su amiga, Glenda

Tags: backup silhouete library, como copiar biblioteca de Silhouette, how to backup your silhouette library files
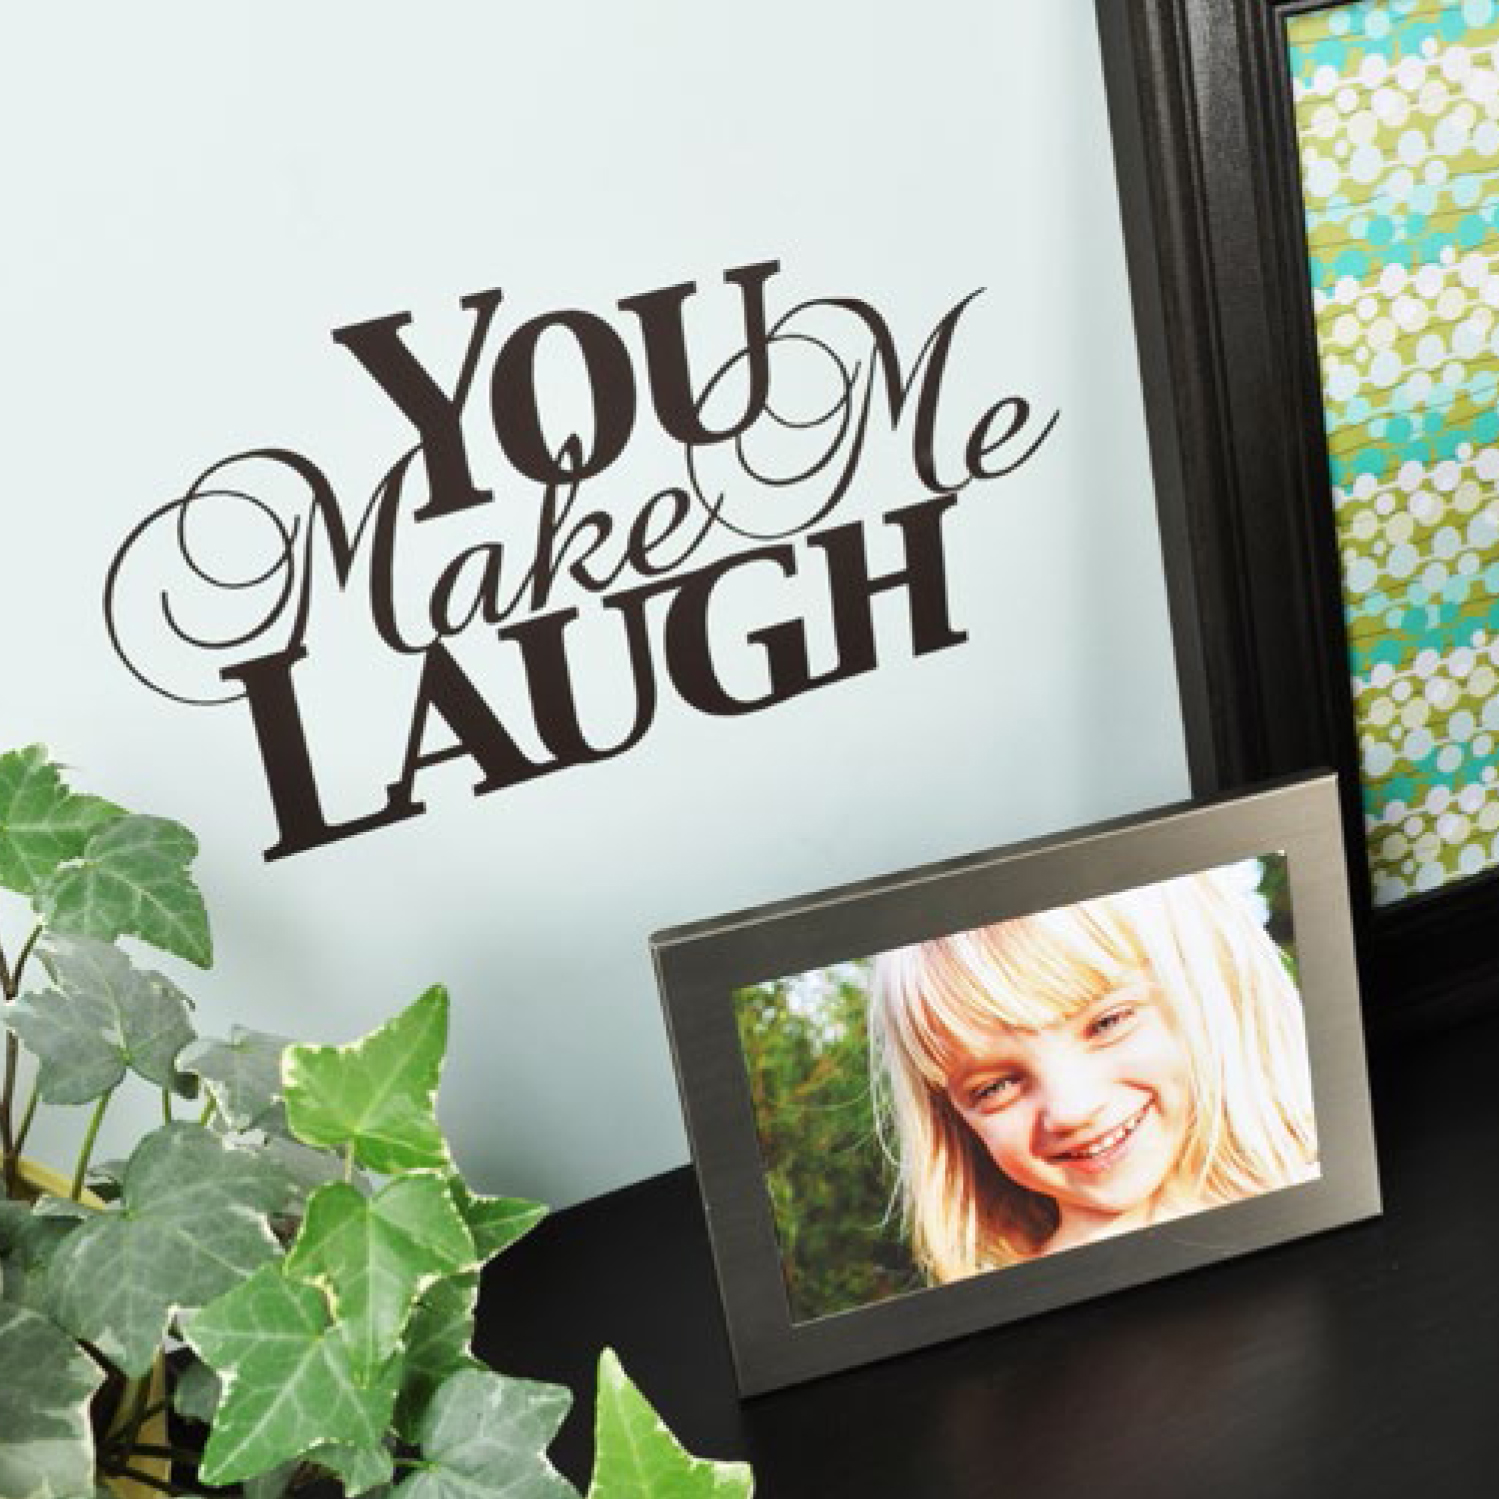
If you’d like to add a picture of your finished project to a design in Silhouette Studio, follow these steps and you will always remember how that design look like when finished:
- Take a picture of the finished project and save it. This picture will have the extension .jpeg at the end of its name.
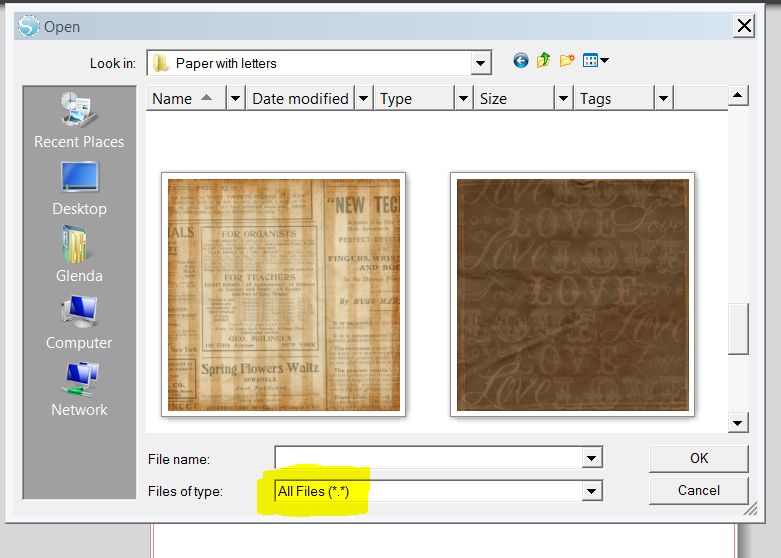
- Open the Silhouette sofware. Open the design where you would like to add the picture. Click on File, Merge, a new window will open. In this window, click the arrow next to “Files of type” and choose “All Files“.
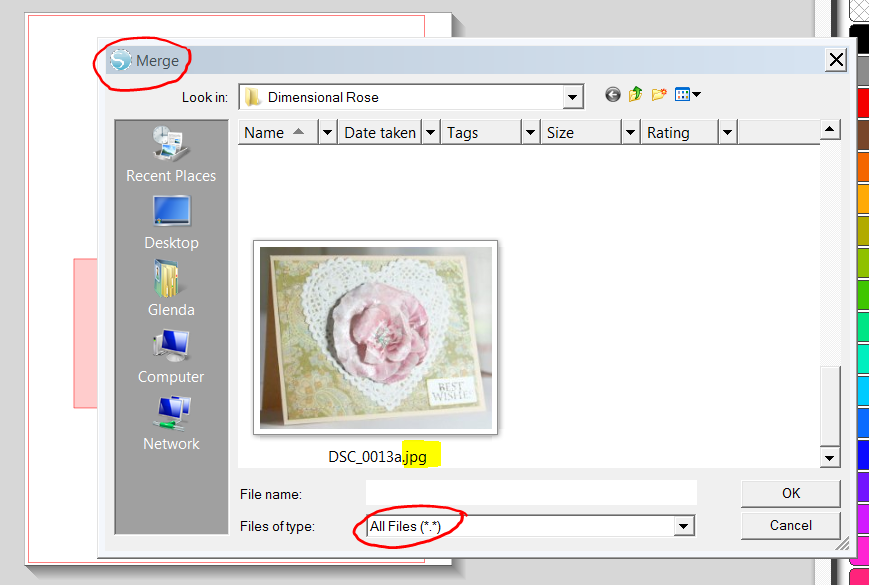
3. Look for the picture of the finished project. Click on it and click OK.
4. The .jpeg is going to open in the same window where the design is.
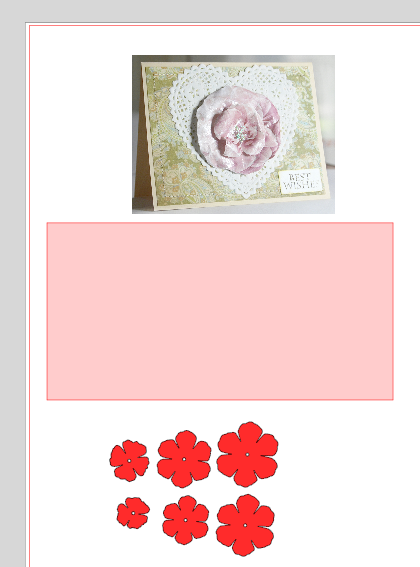
5. Click on File, Save in Library.You will see this window:
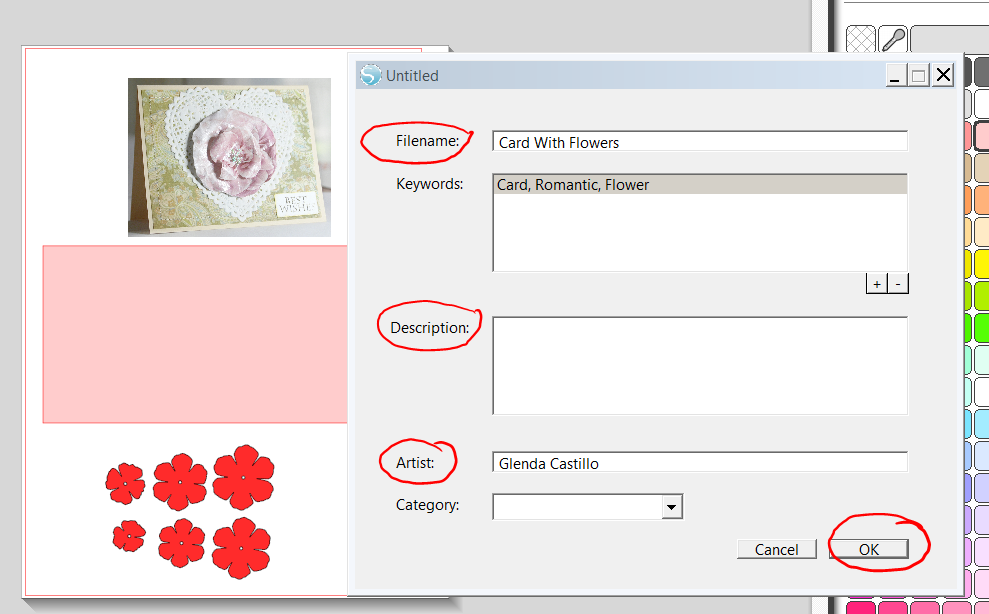
Enter the filename and any other information and click OK.
You already saved the design with the finished project in your Library. When you look for it the the Library you will see something like this: 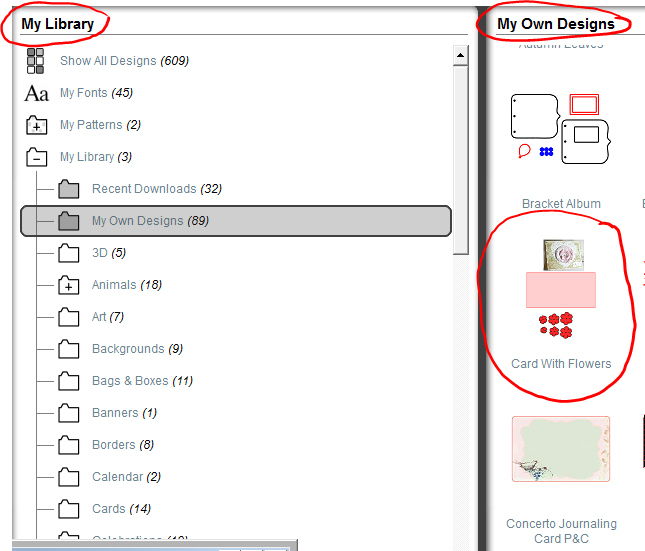
This is a tutorial that a great customer, Puri from Spain asked. Also, answering to the Enchant Art customers questions is one of our priorities.
Happy cutting,
Glenda
Una clienta esplendida de España, Puri, me hizo una pregunta y es como poner una foto del diseño ya terminado para que aparezca junto al diseño mismo cuando abre la Biblioteca. Si usted desea hacer esto siga los siguientes pasos:
-
Guarde una foto del proyecto terminado con la extension .jpeg en algun lugar de la computadora donde lo pueda encontrar facilmente.
-
Abra su programa de Silhouette. Abra el diseño al que desee añadirle el .jpeg. Haga un click en File, Merge para que salga la ventana de abrir un archivo. Donde esta la flechita al lado de “Files of type” haga un click y escoja “All Files“.
-
Busque entre sus archivos la figurita que representa su proyecto con la extension .jpeg. Haga un click en el icono y OK.
-
El .jpeg le va a abrir y aparecer en la pantalla del programa de Silhouette junto al diseño.
-
Haga un click en File, Save in Library. Le va a salir esta pantalla:
Aqui le agrega la descripcion necesaria, etc. y haga un OK.
Con esto, ha guardado el diseño con la figura del proyecto terminado. Cuando lo busque en el Library va a verlo asi:

Tags: Add a picture to library in silhouette studio software, añadir una foto a la biblioteca en silhouette studio
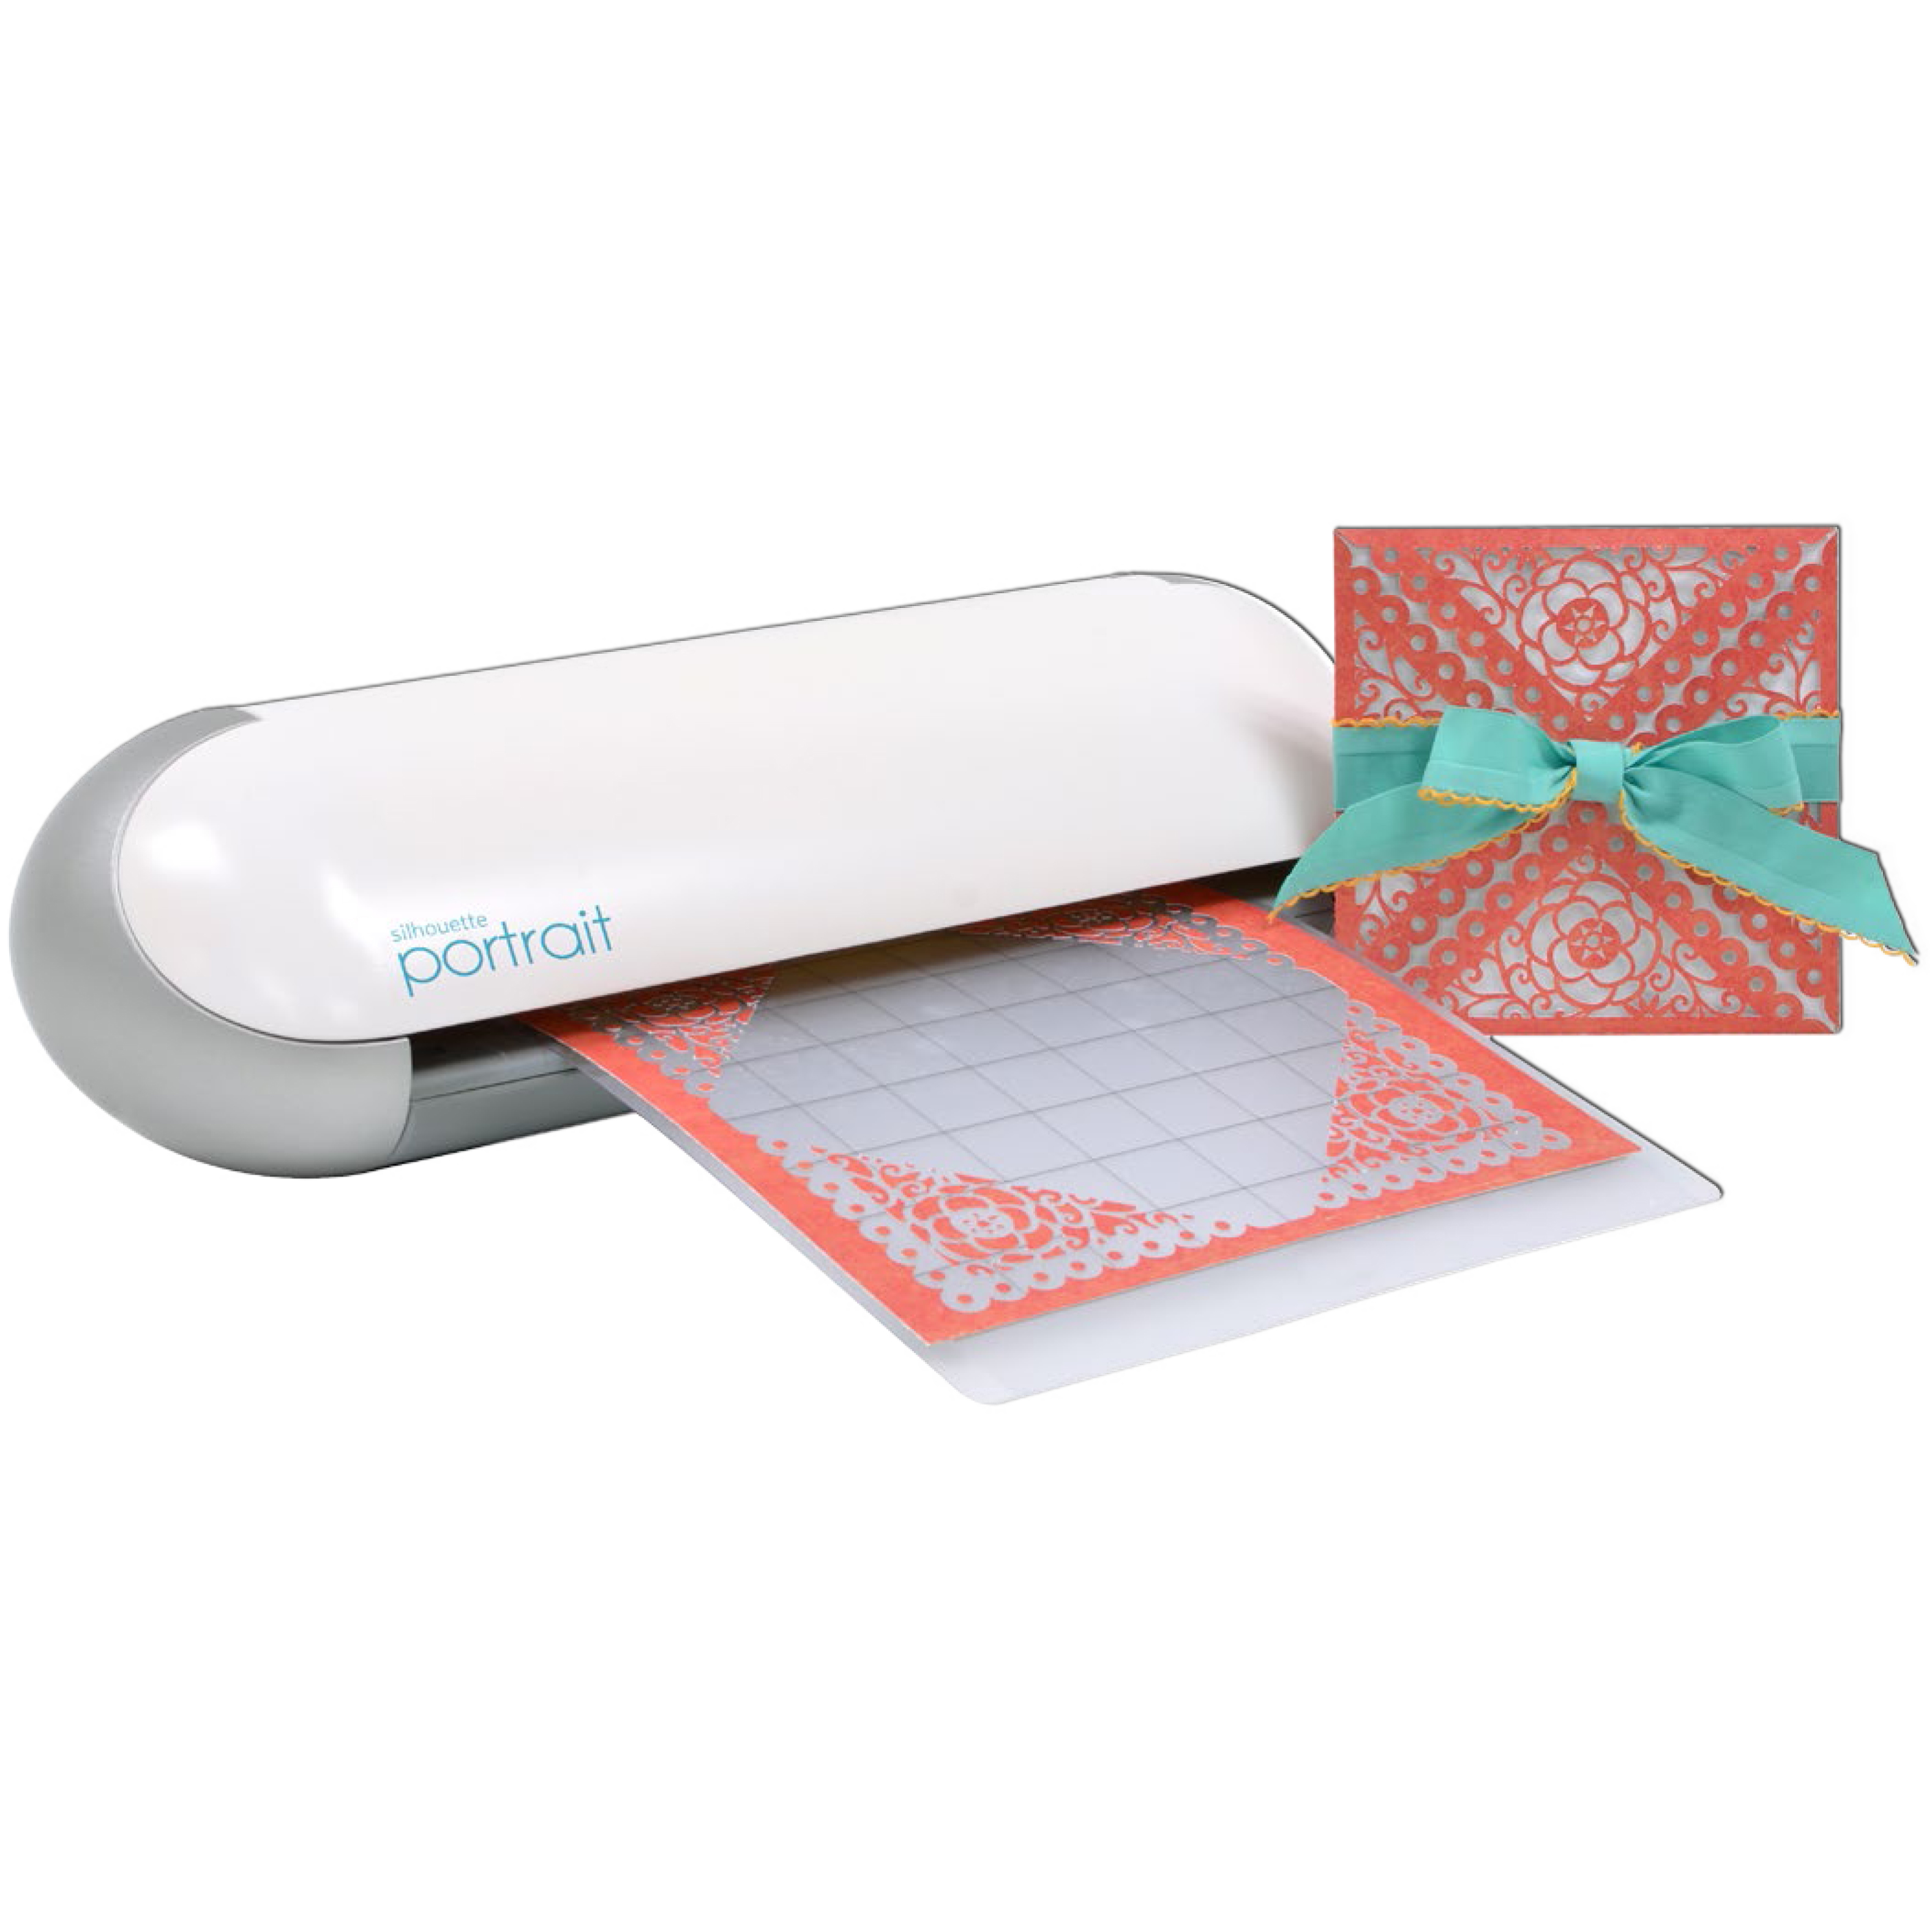
If you wanted to get a Silhouette Portrait, this is a great opportunity to do it now. The price is 41% off from the regular price and it comes with more than 50 free designs! If you want one, you can get it here. The sale is until Friday, April 26.


Tags: silhouette portrait sale
This tutorial is for the owners of a Silhouette machine who wants to incorporate their own digital papers to any shape using the free software that comes with the machine, Silhouette Studio.
I must have hundreds of digital papers that I’d created or that I’d downloaded from the internet. I wanted to use those gorgeous papers with my shapes. If you were trying to figure out how to do this with the upgraded software, these are the steps to follow:
1.- Open Silhouette Studio
2.- Click on File, Open. When the Open window appears, click the arrow for “Files of type” and choose “All Files” from the list.
3.- In the “Look In” at the same window, look for the folder where you store the digital paper that you’d like to add to your shape. Now, you will be able to see all the files in the folder, including the .jpg and .png., which are usually the formats used for creating digital papers.
4.- Double click on the paper that you want to bring to the Silhouette Studio program.
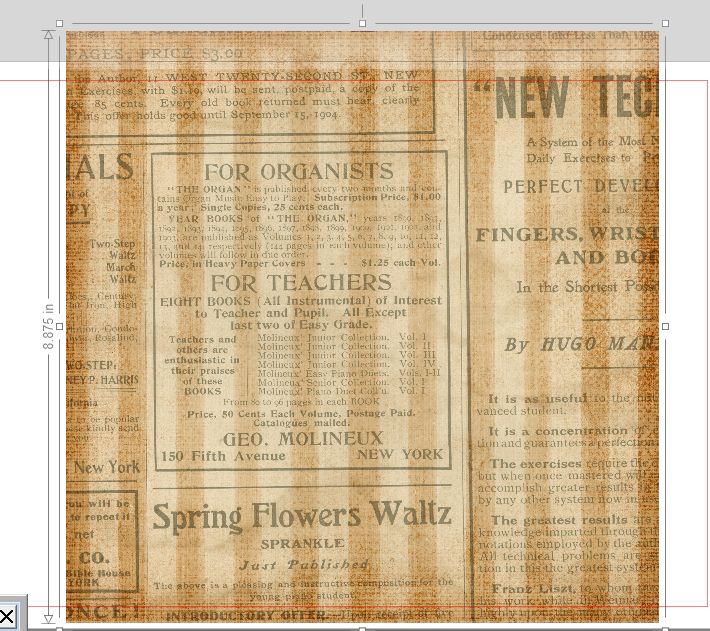
5.- If you want to change the size of the paper, click on the paper and grab one corner of it, without letting go of the mouse, bring the corner to the other side. Adjust accordingly.
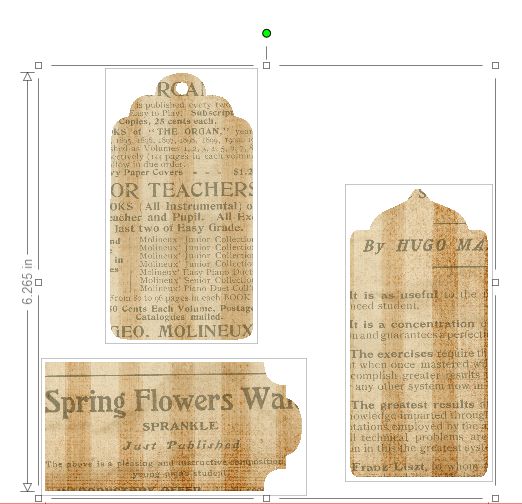
6.- Now, it’s time to bring the shape you’d like to cut to the program. You can open it from the Library or you can bring it from the computer. For this example, I have three tags from the Everyday Tags.
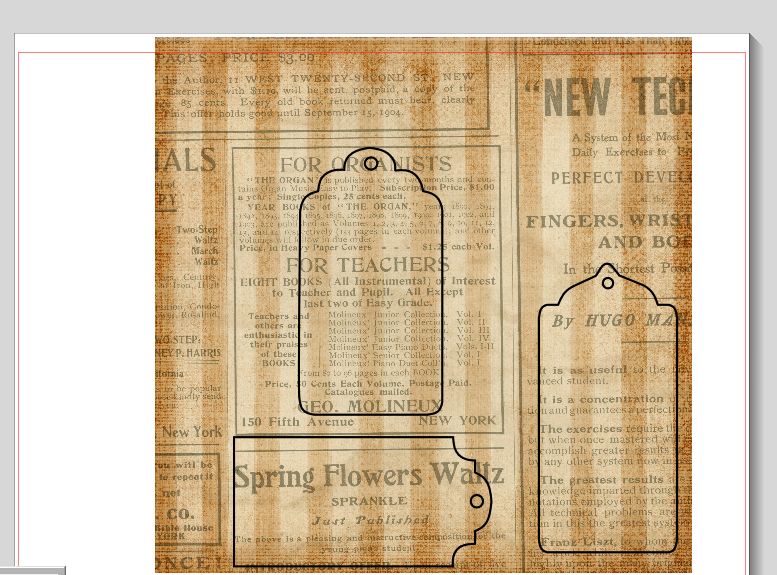
7.- Once you open a shape, you will see the lines of it on top of the paper. Move the paper or the shapes according to your taste.
8.- Now, you need to select everything, to do that, click outside the paper and shape, hold down the mouse and drag it around them. Also, you can press Ctrl and without letting it go press the letter A in order to select all.
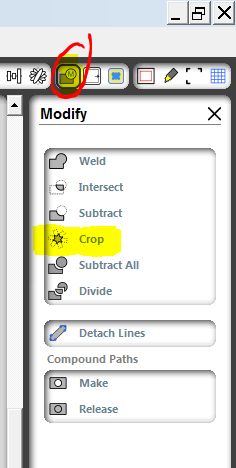
9.- At the right side of your screen, there is a group of icons at the top. Click on the icon that has a rectangle with a letter M. That opens the modify menu. Click on the “Crop” alternative.
10.- If you follow all the steps, your final result is the shape filled with the paper.
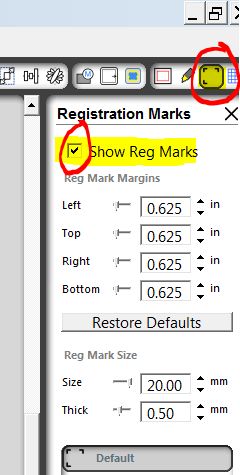
11.- This is ready for Print and Cut. Just click on the icon that has three corners, that will allow you to check the option for “Show Reg Marks”. Send your creation to your printer, File, Print.
Once printed, put the paper in the Silhouette mat and proceed to Cut as always. Silhouette is going to identify your registration marks and cut the shapes.
If you have a question, please post it here and I will respond to you.
Happy cutting!
Glenda

Tags: designers papers with Silhouette, HOW TO ADD DIGITAL PAPERS TO SILHOUETTE SHAPES
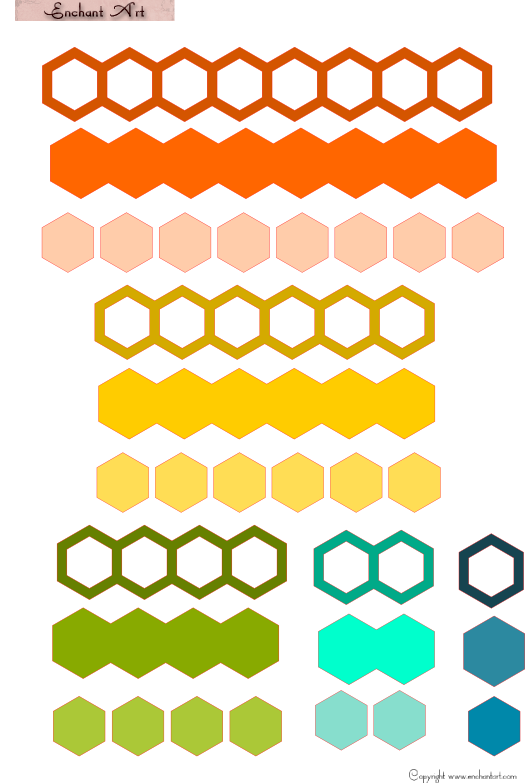
Today I have a free card front for you. I used some shapes and also the hexagon file from Enchant Art. To download the free card front, click HERE
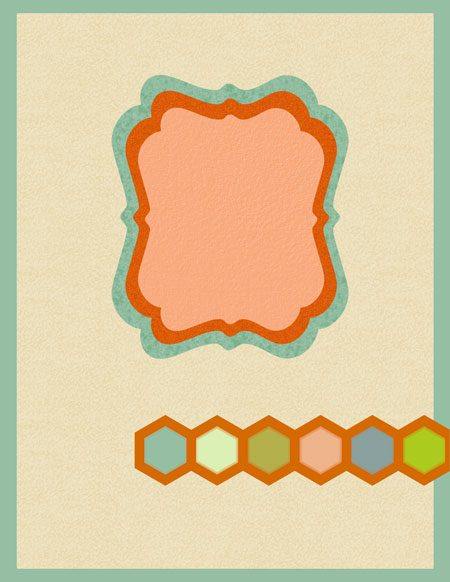
The hexagon files are so versatile and you can change the background cutting different colors of cardstock or printed paper.
You can get the hexagon file here.

This is such a cute cutting design. I cut the typewriter and put it on a card. I also cut a piece of paper with a message and inserted the paper in the machine as it was coming out from it.

The cutting file has two layers, I cut the bottom one using silver cardstock and the top one with black cardstock.
For more information about this file, click here.

It’s hard to believe, but it’s March already! I bring you today the free printable calendar for this month.
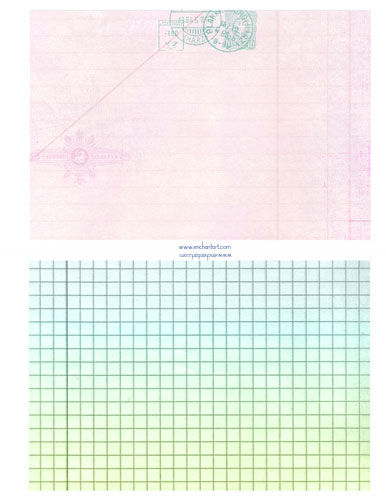
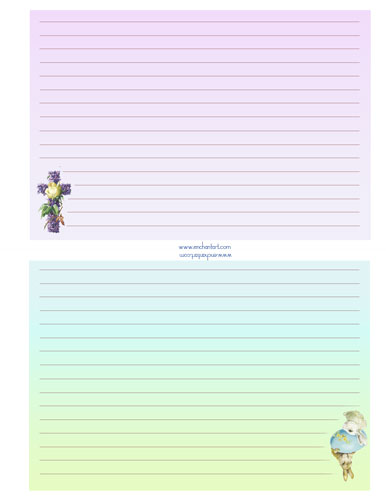
As with the previous months, I have included templates for the calendar, journaling cards, etc. To download the files, please click HERE. The files are all in a zip file. Unzip and use them for this month or combine them for other months.
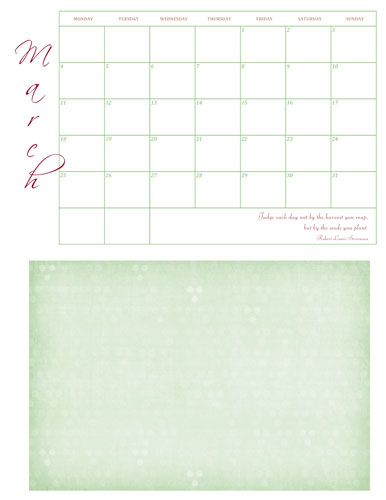

This calendar was designed for personal use. When you print them, you can use your regular printer and the paper of your preference.
The pages have a wider margin at the left to make binding easier for you. Please do not distribute them but point your friends to www.enchantart.com/blog to download them directly.

Tags: Free calendar 2013, free printable calendar, Lucky 13 Calendar
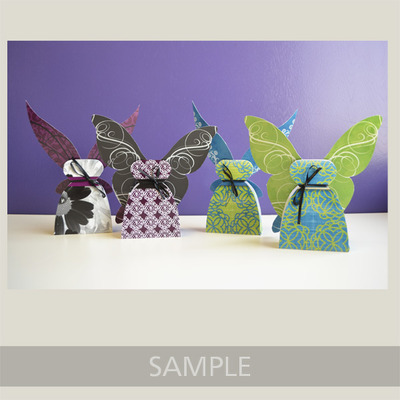
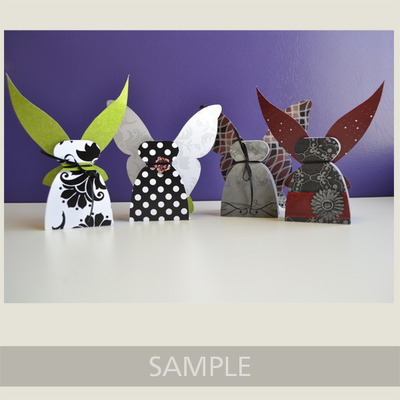
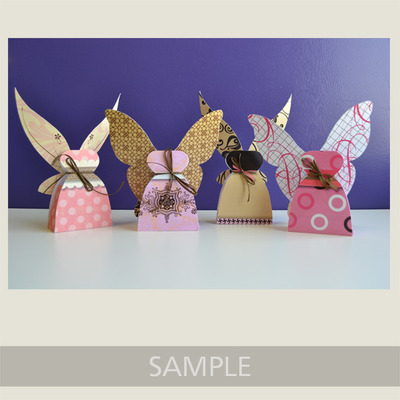

Tags: free dress boxes
How I organize my digital cutting files? First, I need to tell you why you should organize those files. Easy, organization brings order and if you have your files classified, in order, you will find what you are looking for very fast and easy.
Here are the folders that I created, you can adopt some or all of this system:
- 3D Shapes
- Alphas
- Animals
- Baskets
- Boxes
- Bags
- Bookplates
- Borders
- Cards
- Celebrations
- Clothes
- Doilies
- Envelopes and Pockets
- Fantasy
- Flourish
- Flowers
- Food
- Frames
- Hobbies
- Holidays
- Home
- Labels
- Love
- Mini Books
- Nature
- Nested Shapes
- Office Supplies
- Outdoor Activities
- Pennants
- People and Body Parts
- Print and Cut
- School
- Seasons
- Shapes
- Spiritual
- Sports
- Tags
- Titles
- Toys
- Transportation
- Travel
Inside of some of these folders, I make sub-folders, for example inside Holidays, I add all the holidays as sub-folders. And when I need something, I find it right away, this makes my time more productive. Give organization a try and if you are already organized, you can always improve your system.


